Having grab bars isn’t enough if they’re in the wrong position. Here’s exactly where they need to go — and the six placement mistakes that make most grab bar installations less effective than they should be.
Most homes that have grab bars have them in the wrong place.
Not slightly wrong. Significantly wrong — in positions that provide limited benefit during the actual transitions where falls happen, and sometimes in positions that create a false sense of security without meaningfully reducing risk.
This isn’t a criticism of the people who installed them. Grab bar placement isn’t intuitive. The positions that feel logical — centered on the shower wall, at a comfortable gripping height when standing still — are different from the positions that actually support the body during the specific movements where falls occur.
Here’s what the research on bathroom falls actually shows about where bars need to go — and why the difference between correct and incorrect placement is the difference between a bar that catches a fall and one that doesn’t.
Why Placement Matters More Than Having Bars at All
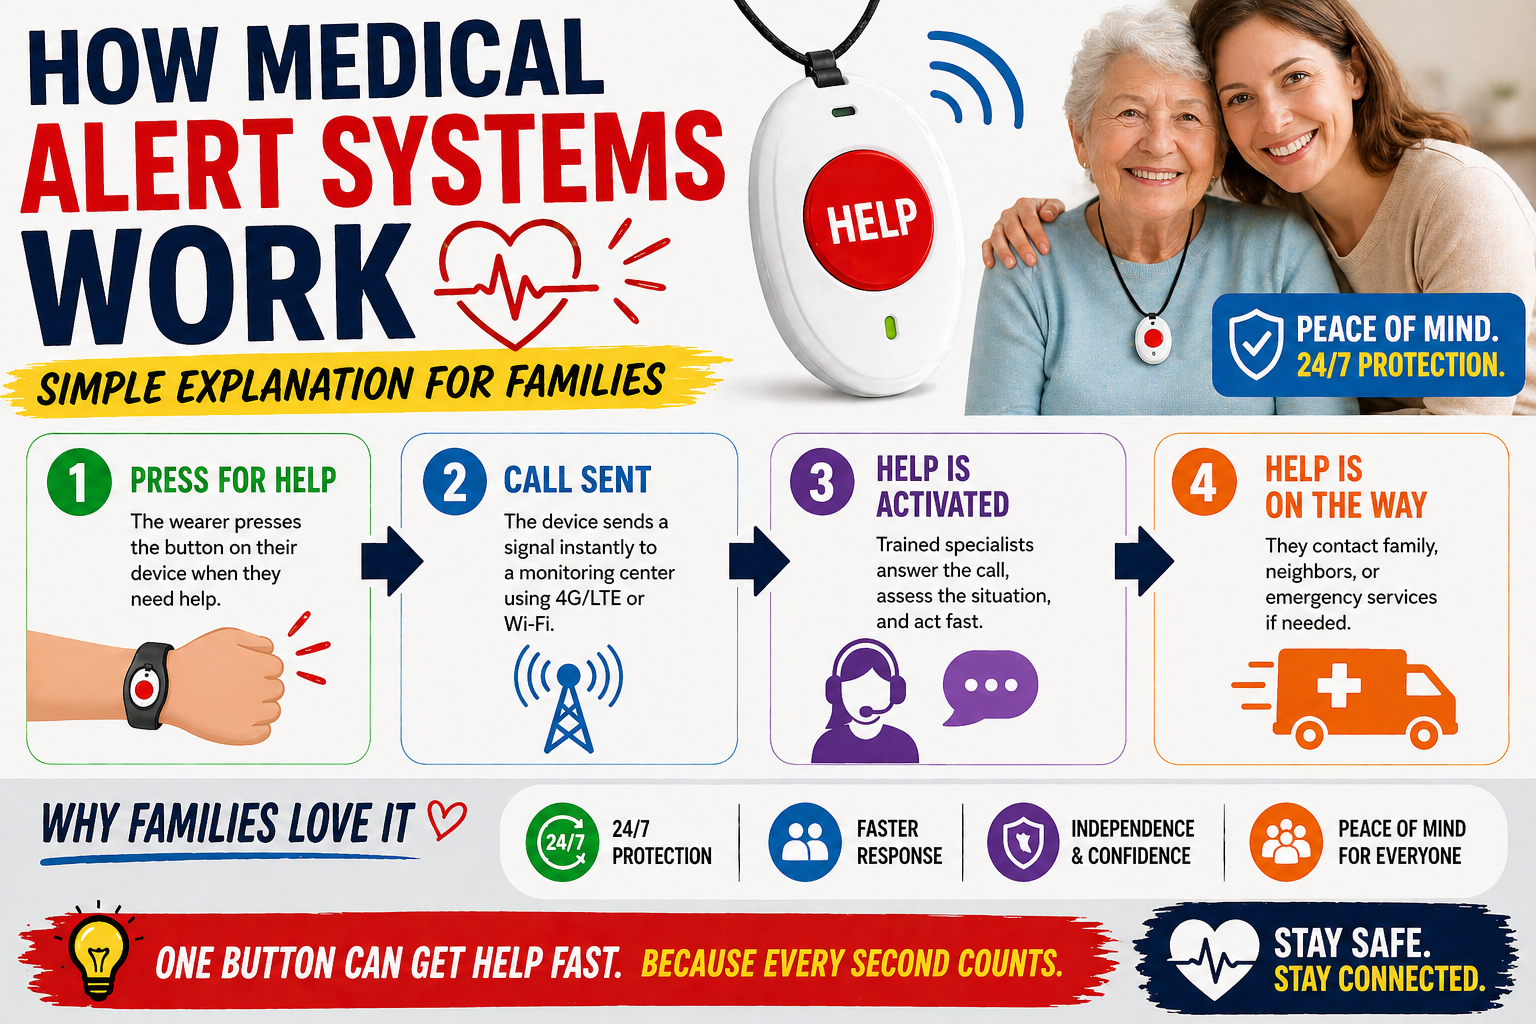
A grab bar provides support when a hand can reach it at the moment of instability. During a fall — or the fraction of a second before one — the window for grabbing a bar and using it effectively is extremely short. The bar needs to be exactly where the hand naturally goes during the high-risk transition, not where it would go when standing comfortably and reaching deliberately.
Think about the shower entry specifically. The moment of highest risk is the step-over — one foot lifted over the threshold, all weight on the other leg, body weight shifting forward. In that position the hand reaches naturally to the side and slightly forward — into the shower space, at roughly shoulder height or slightly lower. A bar on the far wall of the shower, or a bar on the wall outside the shower at standing height, isn’t where that hand goes. It doesn’t help in that moment.
Correct placement means thinking through the specific body positions and movements that create fall risk — and positioning bars so a hand reaches them naturally during those movements, not deliberately after them.

The Most Common Grab Bar Placement Mistakes
Mistake #1 — Only One Bar in the Shower
The most common grab bar installation is a single horizontal bar on the side wall of the shower at approximately waist height. This bar is better than nothing — but it addresses only one of the multiple high-risk transitions in a shower.
A complete shower grab bar installation covers three positions: the entry point, the shower wall for stability during showering, and the toilet. A single bar addresses one of these and leaves the others uncovered.
Our complete guide on grab bar placement for seniors covers all three positions with precise measurements. Our review of the best grab bars for seniors covers what to buy.
→ Get the 2-Pack Grab Bars on Amazon — covers both shower positions in one purchase
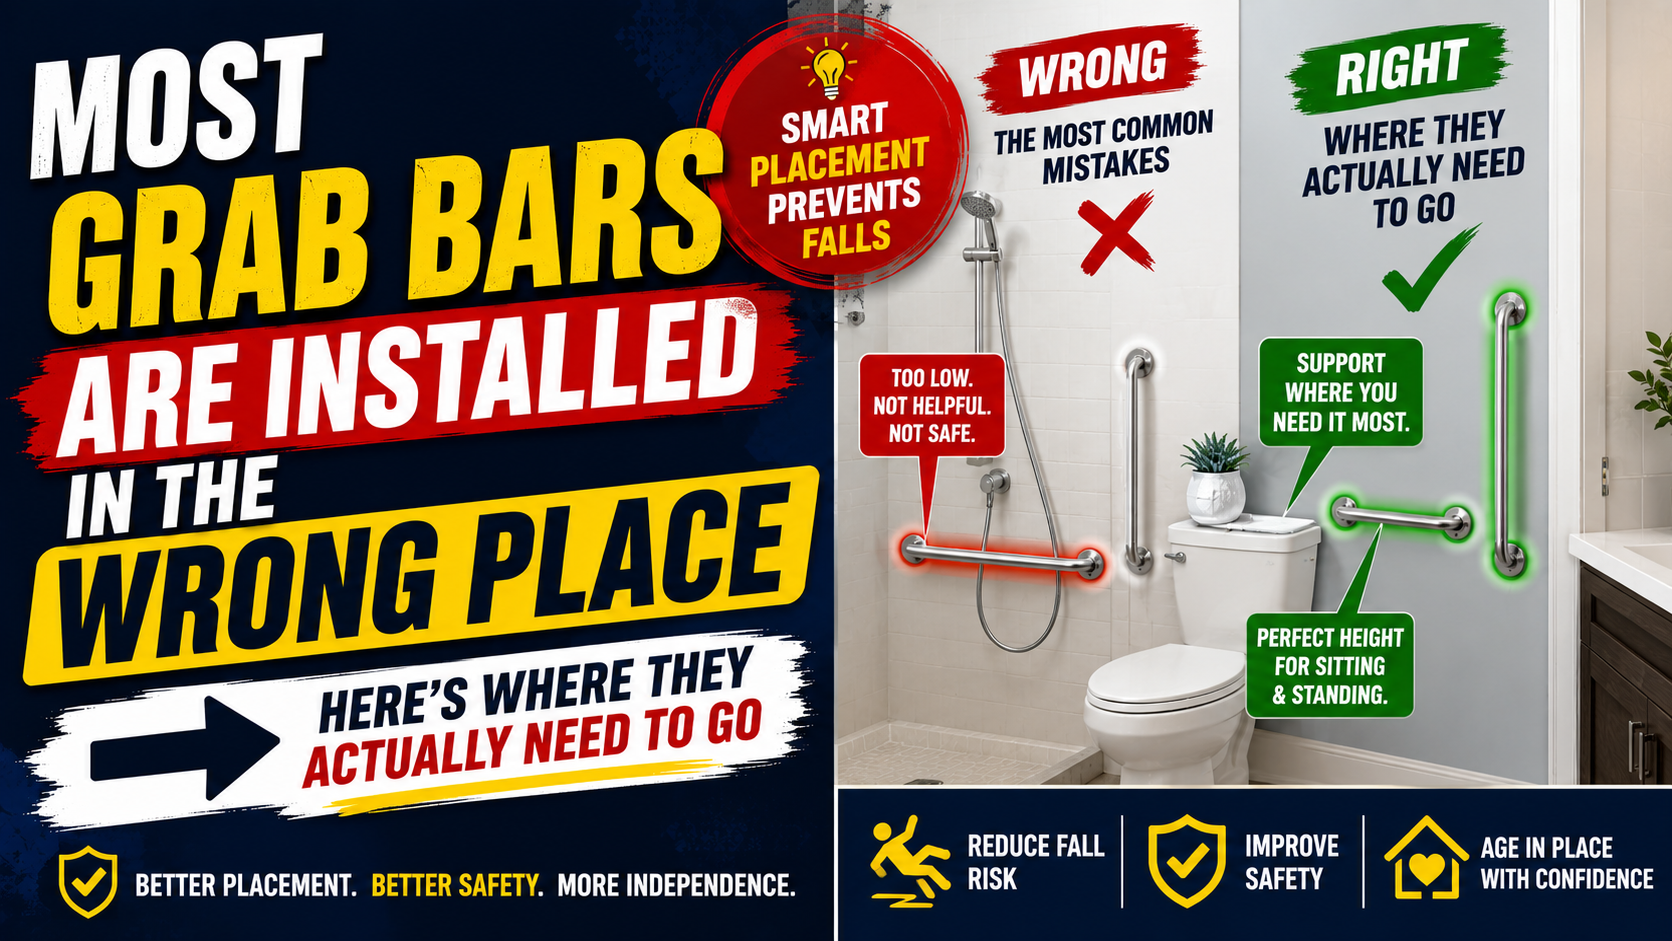
Mistake #2 — The Entry Bar Is on the Wrong Wall
When a single bar is installed at the shower entry, it’s frequently mounted on the wall outside the shower — requiring the person to reach back to grab it after stepping through, or to hold it while stepping over the threshold with their body turned awkwardly toward the wall.
The correct position for an entry grab bar is inside the shower, on the wall adjacent to the entry point, at a height that allows gripping during the step-through motion. This means the bar is within the shower space — the hand reaches it naturally during the entry motion rather than requiring an awkward backward reach.
Specifically: the entry bar should be mounted vertically or at a 45-degree angle, 33 to 48 inches from the shower floor, on the side wall inside the shower entry. This height range accommodates gripping at multiple points through the arc of the stepping motion — lower as the step begins, higher as the body weight transfers.
Mistake #3 — Horizontal-Only Installation
Horizontal bars — parallel to the floor — are the most common grab bar format and they have genuine value. But they provide support primarily for lateral weight shifting rather than for the vertical transitions — sitting to standing, descending toward a seat — where a significant proportion of bathroom falls occur.
Angled bars at 45 degrees, or a combination of horizontal and vertical bars, provide support through a wider range of the movements that create fall risk. A vertical bar alongside the toilet — oriented perpendicular to the floor — is particularly useful for the toilet transfer because it provides something to push against during the rising movement that a horizontal bar at waist height doesn’t provide.
Mistake #4 — Too Far From the Toilet
Toilet grab bars are frequently installed on the wall behind the toilet — because that wall is easiest to access for installation. But a bar directly behind provides minimal support for the sit-to-stand movement. The useful support during toilet transfer comes from the side — a bar on the wall adjacent to the toilet, within easy reach when seated, that allows pushing off during the rising motion.
The correct position is on the side wall at approximately 33 to 36 inches from the floor, 6 to 8 inches in front of the toilet front edge, long enough to extend from beside the toilet forward. This position puts the bar where the hand reaches naturally during the rise — not where it’s accessible when standing and reaching deliberately.
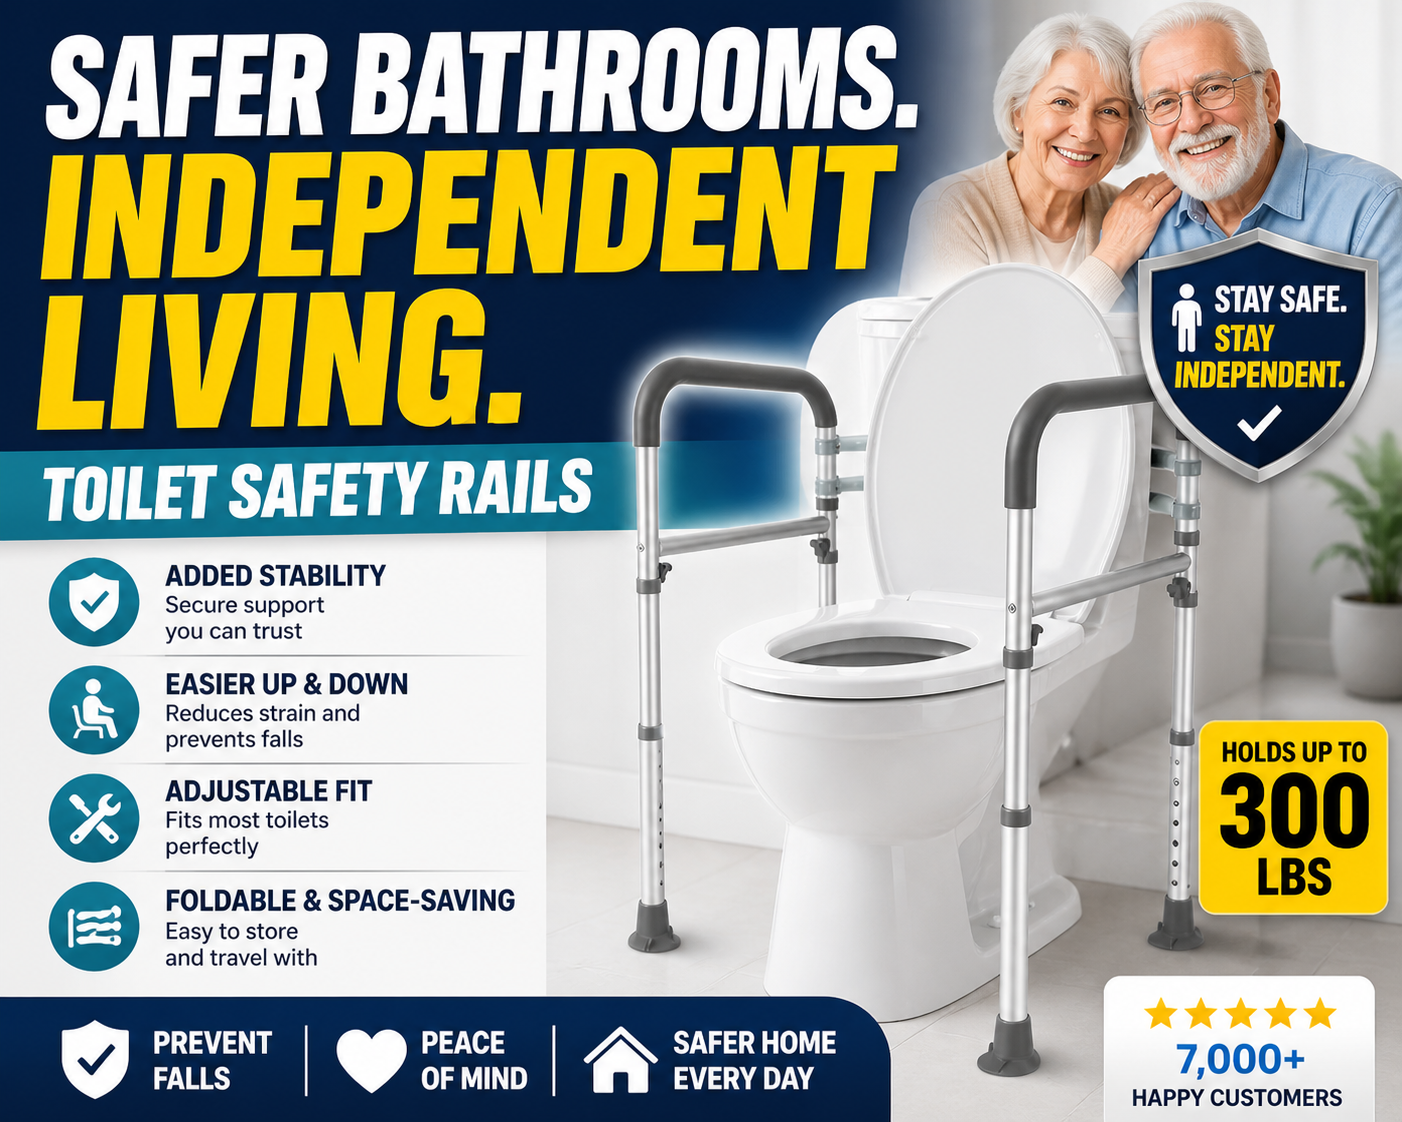
If the toilet wall configuration doesn’t allow a wall-mounted bar on the side — in a space-constrained bathroom — toilet safety rails that attach directly to the toilet provide the same side-support benefit without requiring wall installation. Our review of the best toilet safety rails covers the tool-free option we recommend.
→ Get the Toilet Safety Rails on Amazon
Mistake #5 — Installed Into Tile Without Stud Backing
This is the most dangerous mistake — not placement, but installation. Grab bars mounted into tile alone, without reaching wall studs or using appropriate load-rated anchors designed for tile installation, will pull out of the wall under significant body weight. And significant body weight is exactly what they experience when someone grabs them during a fall or uses them to push up from a seated position.
A grab bar that pulls out of the wall when grabbed is worse than no grab bar — it provides false confidence, the person reaches for it, it fails, and the fall happens with the person already off-balance from the reach.
Every grab bar installation must reach wall studs or use tile-appropriate load-rated anchors rated for the full body weight load. This is non-negotiable and worth hiring a handyman for if there’s any uncertainty about stud location or installation technique. The cost of professional installation is trivial compared to the cost of a failed bar.
Mistake #6 — Using Towel Bars as Grab Bars
Standard towel bars are designed to hold towels. They are not designed to hold body weight — and they will fail under the load of an adult using them for support. Yet in homes without proper grab bars, towel bars are frequently what people reach for instinctively during a bathroom transition.
A towel bar that fails when grabbed provides the worst possible outcome — a sudden unexpected loss of the support the person was counting on, at exactly the moment of maximum instability. Remove towel bars from positions where they might be mistaken for grab bars, or supplement them with proper grab bars in the positions where support is needed.


Where Grab Bars Actually Need to Go — Room by Room
Shower — Three Positions
Position 1 — Entry bar: Inside the shower, on the side wall at the entry point. Vertical or 45 degrees. 33 to 48 inches from shower floor. This is the most important bar in the bathroom and the most commonly placed incorrectly.
Position 2 — Back wall bar: Horizontal, on the back wall of the shower. 33 to 36 inches from the shower floor. This provides stability during showering itself — for reaching, washing, and any moment of instability during the standing portions of the shower routine. Also assists with sit-to-stand from a shower chair.
Position 3 — Side wall bar near shower chair: If a shower chair is in use, a vertical or angled bar on the wall nearest the chair seat provides support for the chair-to-standing transition. Position at the chair’s side, at a height reachable from the seated position.
Our complete guide on safe shower setup for elderly adults covers all three positions alongside every other shower safety modification worth making.
Toilet — One or Two Positions
Primary bar: Side wall, 33 to 36 inches from floor, 6 to 8 inches forward of the toilet front edge, extending at least 24 inches in length. This is the support bar for the sit-to-stand movement — the one where placement matters most for actual function.
Secondary bar: If space allows, a bar on the opposite side wall mirrors the support, allowing the person to push from both sides. Particularly valuable for anyone with significant strength asymmetry between left and right.
Where wall-mounted toilet bars aren’t feasible, toilet safety rails that clamp to the toilet itself provide equivalent side support. Our review at best toilet safety rails for seniors covers the specific option we recommend.
Bathtub — If Still in Use
Entry bar: On the wall at the tub entry, vertical orientation, at a height reachable during the step-over. This covers the highest-risk tub transition — stepping over the tub wall — which at 15 to 18 inches of threshold height is significantly more demanding than a standard shower threshold.
Interior bar: On the wall inside the tub, horizontal, 33 to 36 inches from tub floor. For support during any standing portions of tub use and during the transition from seated to standing when getting out.
If the bathtub has become unsafe regardless of grab bars, our guide on walk-in bathtubs covers the option that eliminates the dangerous tub entry transition entirely.
How to Check Your Current Grab Bar Installation
If grab bars are already installed, here’s how to assess whether they’re providing the protection they should.
Test 1 — The reach test. Go through the actual motion of entering the shower slowly. At the moment of peak instability — one foot lifted, weight shifting — does your hand naturally reach the bar? Or would you have to deliberately reach for it in a direction you wouldn’t naturally go during an unstable moment?
Test 2 — The stability test. Apply significant downward and lateral pressure to each bar. Grip it firmly and pull toward you, then push away, then pull down. Any movement — any at all — means the mounting is inadequate and needs attention before the bar is relied on for fall prevention.
Test 3 — The position test. Sit on the toilet and look at where the grab bar is. Can you reach it comfortably from the seated position? Is it on the side where your stronger hand is? Does gripping it while rising feel natural and supportive, or awkward?
If any of these tests reveals a problem, address it before continuing to rely on the bar. A bar that fails a stability test is actively dangerous. A bar that fails the reach test provides less protection than its presence suggests.


Getting the Installation Right
Correct grab bar installation requires three things: the right bars, the right positions, and secure mounting into studs or with appropriate anchors.
For the bars themselves our review of the best grab bars for seniors covers load rating, finish options, and the specific product we recommend. The 2-pack covers the two shower positions in one purchase.
For position specifics with exact measurements our grab bar placement guide covers every location in detail.
For installation itself — if there’s any doubt about locating studs, drilling into tile without cracking it, or confirming the mounting is load-rated — hire a handyman. A professional grab bar installation typically costs $100 to $200 in labor and takes one to two hours. That cost is trivial against the consequence of an incorrectly installed bar that fails when someone’s weight depends on it.


The Complete Bathroom Safety Picture
Correctly placed grab bars are the single highest-impact bathroom modification — but they work best as part of a complete bathroom safety approach. A shower chair eliminates standing on a wet surface. A non-slip bath mat addresses the shower exit transition. Toilet safety rails cover the toilet transfer when wall-mounted bars aren’t feasible. Night lights ensure the bathroom is never navigated in complete darkness.
Our complete guide on how to make a bathroom safer for seniors covers every modification worth making. Our guide on safe shower setup for elderly adults covers the shower specifically. And our home safety checklist covers the complete room-by-room picture beyond the bathroom.
And for the safety net that covers what happens if a fall occurs despite every modification — the SecuLife Smartwatch provides automatic fall detection from the wrist. Present in the bathroom, during every shower, during every nighttime trip, everywhere the person goes.
→ Get the SecuLife Smartwatch on Amazon
Check the Bars You Have — Today
If there are grab bars already installed in the bathroom, run the three tests above before assuming they’re providing the protection they appear to. A bar in the wrong position or with inadequate mounting may be doing little while creating the impression that the bathroom is safer than it is.
If there are no grab bars, the placement guide above and the product review linked throughout give you everything needed to get the right bars in the right places — providing real protection for every bathroom visit for as long as the home is lived in.
The bathroom is the most dangerous room in the home. The grab bar is the highest-impact modification available. Getting the placement right is the difference between a bar that works and one that doesn’t.


About the Author
Carol Simmons is a Certified Aging-in-Place Specialist (CAPS) who has completed hundreds of home safety assessments across Florida and the Southeast. Incorrectly placed grab bars — present but not protective — are one of the most consistent findings in her assessments of homes where falls have occurred. She writes for Elder Safety Guide because getting the placement right is the detail that separates a modification that works from one that provides false reassurance.