A fall-proof home doesn’t happen by accident. Here’s the complete room by room plan to eliminate the hazards that cause most senior falls.
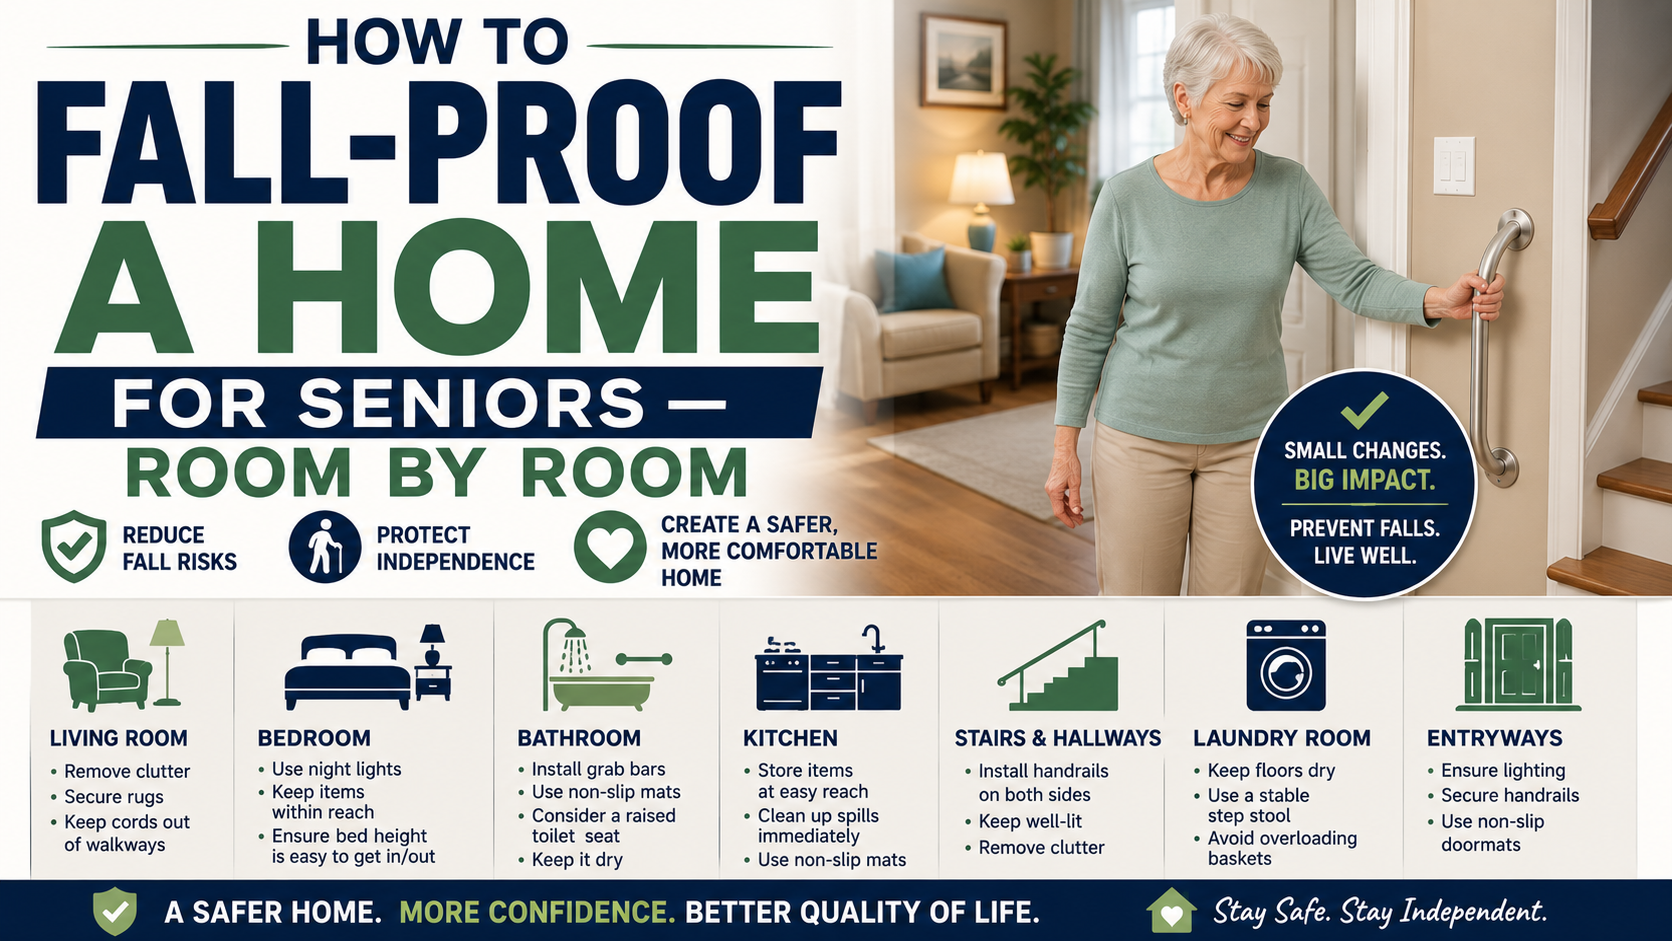
Fall-proofing a home isn’t a single project. It’s a systematic process — room by room, hazard by hazard — that closes the gap between a home designed for a younger body and the physical reality of living in it decades later.
Most families approach home fall prevention reactively — addressing one hazard after a near-miss, adding a grab bar after a bathroom fall, ordering a bed rail after a frightening morning. Reactive fall-proofing is better than nothing. Systematic fall-proofing is dramatically more effective.
This guide walks through every room in the home with the specific modifications that matter most — what to address, why it matters, and what to use. Work through it room by room and the home that was accumulating fall risk becomes one that’s genuinely equipped for safe independent living.
Before You Start — The Assessment Walk
Before making any changes walk through the entire home with deliberate fresh eyes. You’re looking for hazards that familiarity has made invisible — the rug that’s been there for a decade, the cord that’s always crossed the hallway, the dim corner that’s never been adequately lit.
Bring a notepad. Note every hazard in every room. Then work through this guide room by room and match each hazard to its fix. Our home safety checklist for seniors gives you the systematic assessment tool to work through alongside this guide.
The assessment walk reveals what this guide then addresses. Both together are more powerful than either alone.

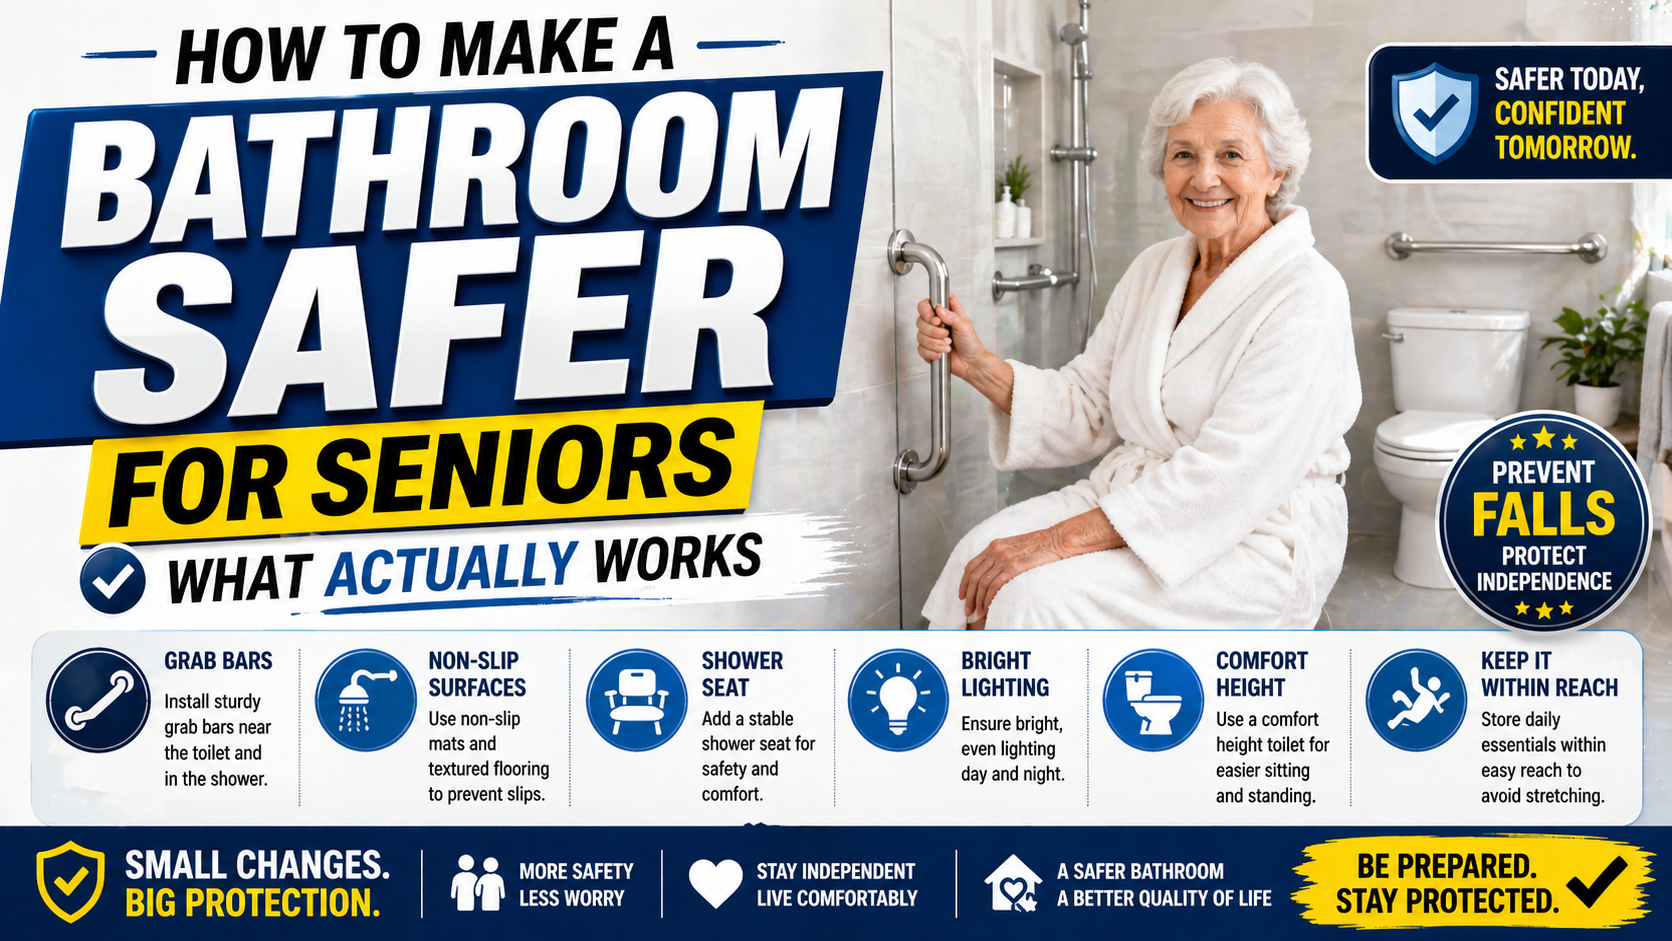
The Bathroom — Start Here, Always
As covered in our guide on the bathroom causes more senior falls than stairs, cars, and ice combined — approximately 80 percent of falls in older adults occur in the bathroom. It is the highest-priority room in any fall-proofing project by a significant margin.
Shower Entry — Highest Priority in the Home
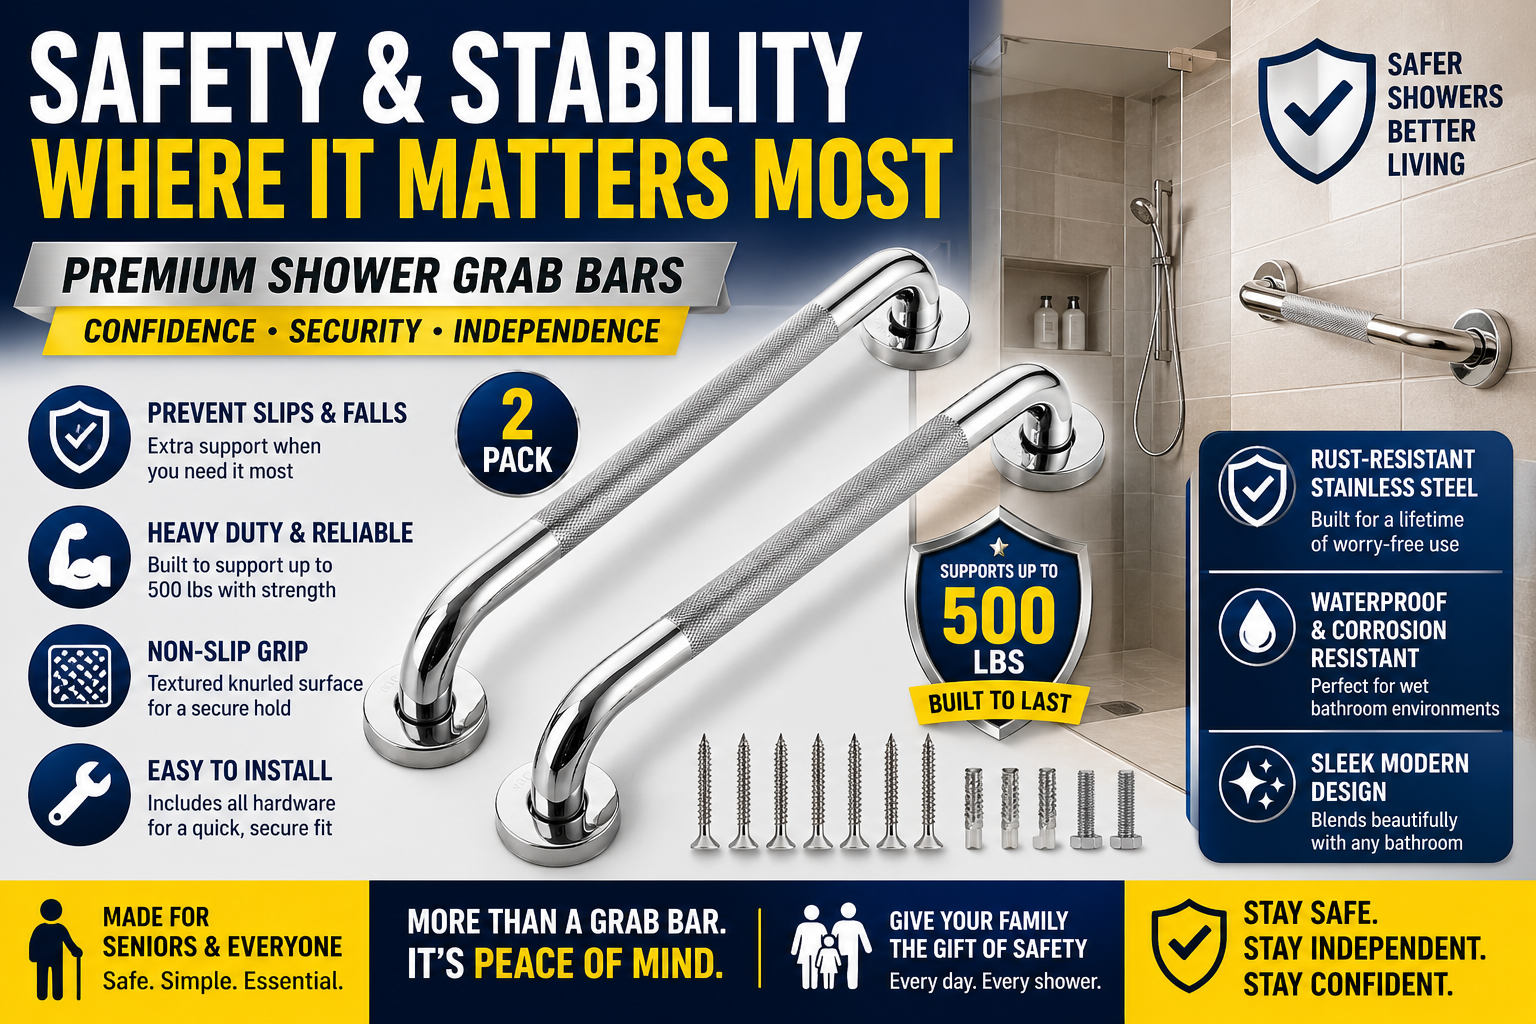
A grab bar inside the shower at the entry point — on the wall adjacent to where you step through, vertical or at 45 degrees, 33 to 48 inches from the floor — directly addresses the highest-risk single transition in the home. The one-legged step-over, all weight on one foot, body moving forward into the shower space. This is where most bathroom falls occur and where a correctly positioned bar makes the most immediate difference.
As covered in our guide on the grab bar that wasn’t there — the falling hand that reaches for support and finds nothing is one of the most consistent patterns in serious bathroom fall reports. The bar positioned where the hand naturally reaches changes that outcome completely.
Our guide on most grab bars are installed in the wrong place covers exact positioning. Our review of the best grab bars for seniors covers what to buy.
→ Get the 2-Pack Grab Bars on Amazon
Shower Back Wall
A horizontal bar on the back wall of the shower at hip height — 33 to 36 inches from the floor — provides stability during showering movements. Reaching, bending, turning to rinse — all of these shift the center of gravity in ways that challenge balance on a wet surface. The back wall bar is there for these moments and assists with the sit-to-stand transition from a shower chair.
Toilet Position
Rising from the toilet — multiple times every day — is one of the most repeated fall-risk transitions in the home. A bar on the adjacent side wall, 33 to 36 inches from the floor, 6 to 8 inches forward of the toilet edge, gives the lateral push support that makes the rising motion stable.
Where wall mounting isn’t feasible, toilet safety rails that clamp directly to the toilet provide the same bilateral support without drilling. Our review of the best toilet safety rails covers the tool-free option.
→ Get the Toilet Safety Rails on Amazon
Bath Mat
The shower exit — wet feet on the bathroom floor — is a distinct fall mechanism from the shower entry. A bath mat that shifts under the first wet step is a hazard not a solution. A diatomaceous earth stone mat absorbs water instantly and never shifts under load. Our review of the best non-slip bath mat for seniors covers why most mats fail.
→ Get the Diatomaceous Earth Bath Mat on Amazon
Shower Chair
Standing on a wet surface for the full duration of every shower is a daily balance demand that a shower chair eliminates entirely. Most people who try seated showering prefer it. Our review of the best shower chair for seniors covers the specific product worth buying.
→ Get the Shower Chair on Amazon
Night Light
The bathroom should never be navigated in complete darkness. An auto-on night light that activates automatically before the person enters means the space is lit before it’s occupied — not after a switch is found in the dark.
Hot Water Temperature
Set the water heater to 120°F or below. Takes five minutes. Eliminates scalding risk for anyone with reduced temperature sensation. Free and permanent.
For the complete bathroom picture our guide on how to make a bathroom safer covers every modification. Our complete guide on safe shower setup for elderly adults covers the shower specifically.


The Bedroom — Second Priority
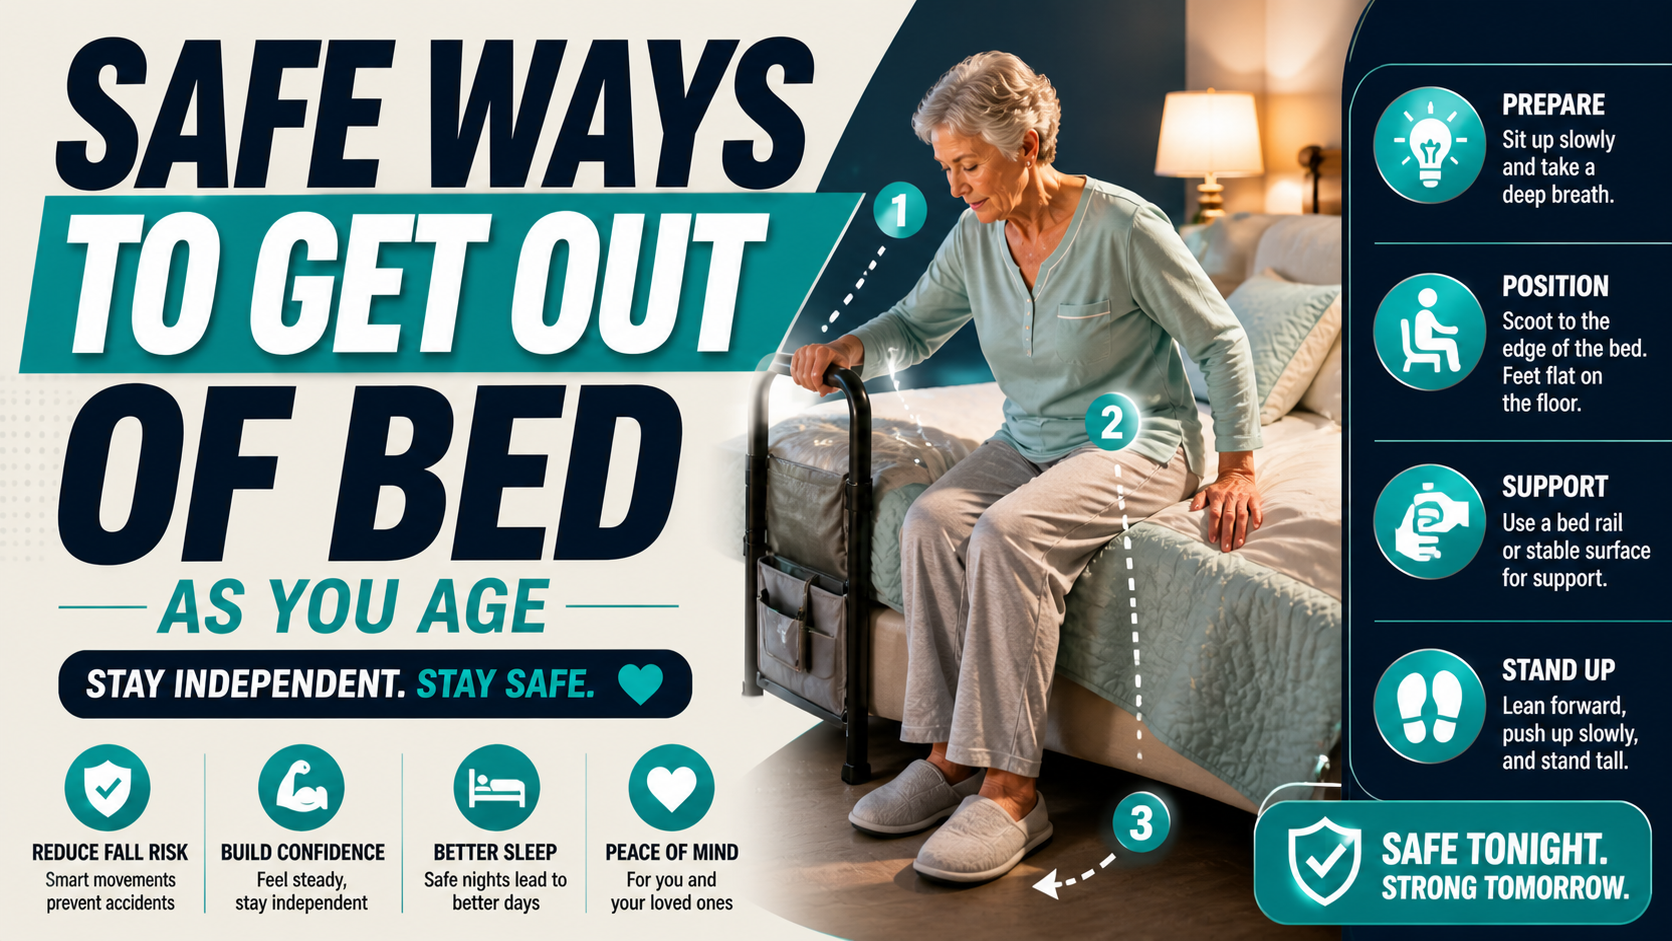
As covered in our guide on getting out of bed is the most dangerous moment of a senior’s day — the morning getting-up transition and every nighttime bathroom trip are the highest-risk daily moments outside the bathroom.
Bed Rail
A firm, load-rated handle on the exit side of the bed reduces the strength required for the sit-to-stand transition and provides stabilization during the dizziness window immediately after standing. ASTM certified. Slides under the mattress with no tools. Our review of the best bed rail for seniors covers the option we recommend.
Bed Height
Sitting on the edge of the bed with feet flat on the floor and knees at approximately 90 degrees is the correct height. Too low makes rising much harder. Too high creates instability. Bed risers add height. Removing the box spring reduces it. This is a one-time adjustment with permanent daily impact.
Night Lights — Complete Path
Bedroom, hallway, bathroom — three auto-on units covering the complete nighttime bathroom path. Activating automatically before the person is moving through the space. Our review of the best auto-on rechargeable lights covers the option that also serves as power outage protection.
→ Get the Auto-On Night Lights 3-Pack on Amazon
Clear the Floor
The path from bed to bathroom must be completely clear. Nothing on the floor. No rugs that shift. No furniture corners at shin height. This path gets navigated half-asleep in low light — it needs to be as unobstructed as possible.
Our guide on senior bedroom safety tips for nighttime falls covers every bedroom modification. Our guide on safe ways to get out of bed covers the correct technique alongside the equipment.
Living Areas — High Traffic, Daily Exposure
Remove Every Unsecured Rug
This is free and can be done today. Every unsecured rug in every walking area is a trip hazard. The rule is simple — if there’s any doubt whether a rug is fully secured, remove it. No decorative item is worth a fall.
Clear All Cords
Every cord crossing a walking path is a trip hazard. Route all cords along walls. Secure with cord clips. This is free, takes an afternoon, and addresses a consistent fall mechanism that shows up repeatedly in home fall reports.
Furniture Arrangement
Walking paths through living areas should be at least 36 inches wide — enough for a walker or rollator if needed. Low coffee tables and ottomans in walking paths are shin-height obstacles. Furniture with sharp corners at standing height should not be in primary walking paths.
Adequate Lighting
Every room should be adequately lit for the visual acuity of the person using it. What feels adequate may not be. Increase wattage. Add floor lamps to dark corners. Ensure every light switch is accessible before entering a room rather than requiring navigation into darkness.
Non-Slip Socks for Smooth Floors
Standard socks on hardwood, tile, or laminate floors provide minimal traction — a daily fall risk that accumulates across every step taken in the home. Non-slip grip socks with rubber sole patterns address this directly. Our review of the best non-slip socks for seniors covers why footwear inside the home matters and the specific option we recommend.
→ Get the Non-Slip Grip Socks on Amazon
Sit-to-Stand Support
For anyone who struggles rising from a standard chair or couch — a power lift recliner handles the physical demand of the transition. Our review of the best power lift recliner for seniors covers the option with heat, massage, and triple motor control.
→ Get the Power Lift Recliner on Amazon

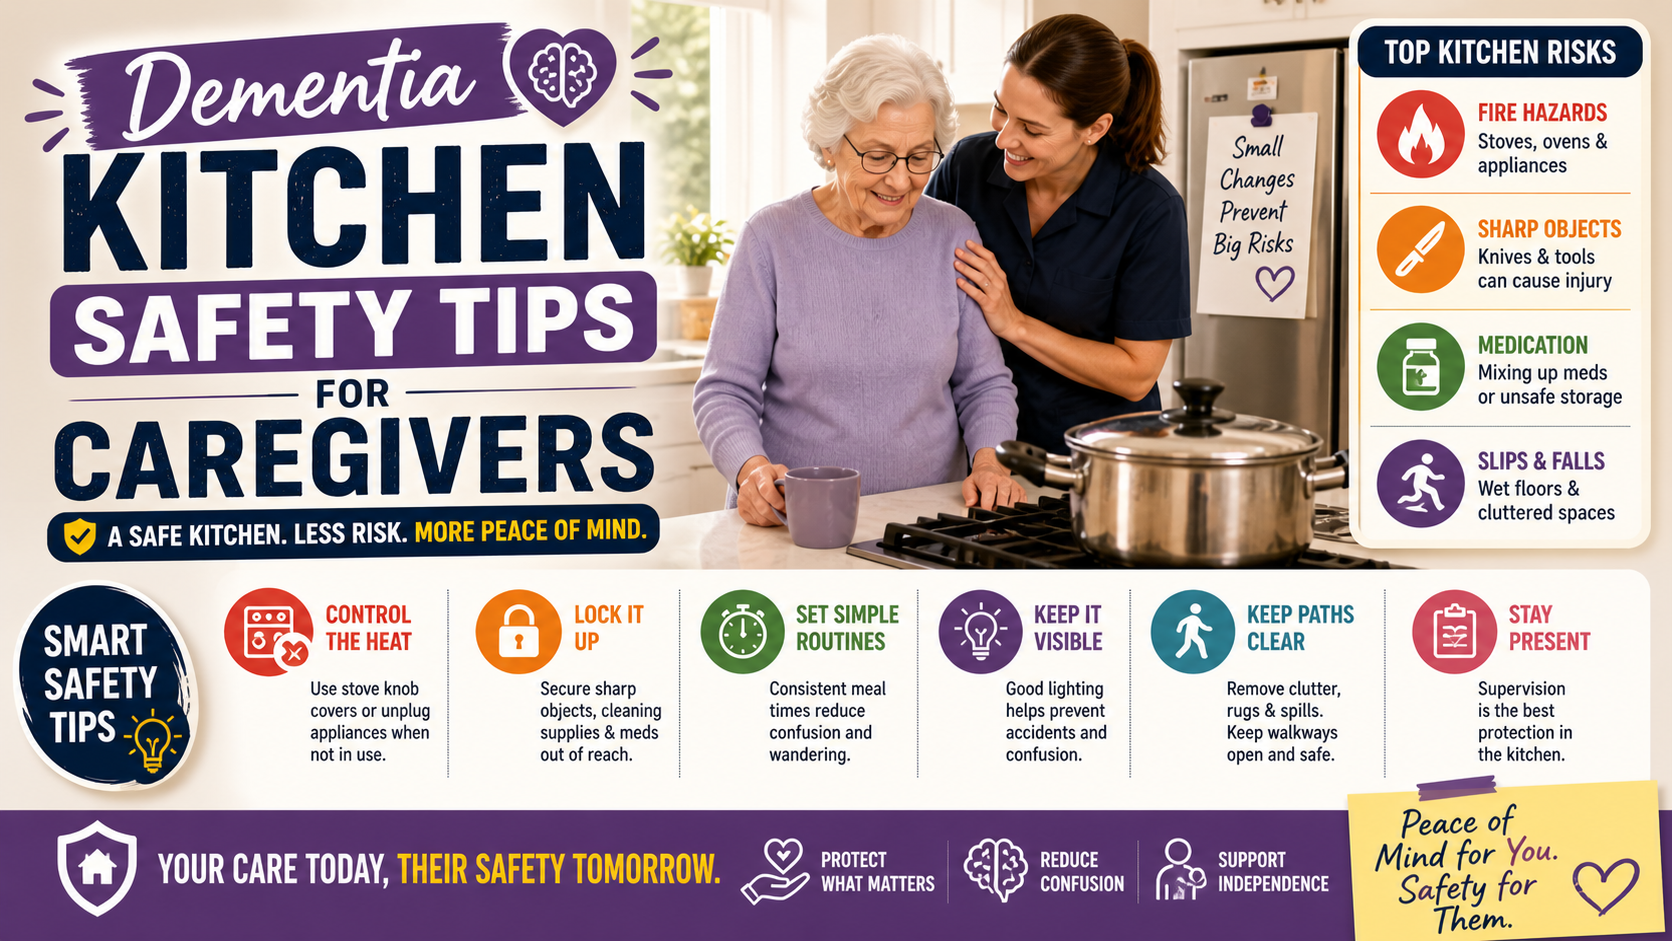
The Kitchen
Storage Height
Daily-use items between hip and shoulder height. Nothing required overhead or at floor level for regular tasks. Reaching overhead and bending to floor level both challenge balance in ways that flat-surface reaching doesn’t. This is a free reorganization that takes an afternoon.
Floor Kept Clear and Dry
Kitchen floor spills cleaned immediately. No items stored on the floor. No unsecured rugs in front of the sink or stove. The kitchen floor during cooking is a wet, busy, obstacle-present environment — keeping it clear and dry is constant and critical.
Step Stool With Handle
If overhead storage is unavoidable, a step stool with a secure handle rather than a chair or improvised platform. One hand for climbing, one hand on the handle — the standard safe ladder-use principle applied to kitchen stool use.
Stairs — Both Directions
Stair falls produce more serious injuries than flat-floor falls due to the potential for tumbling. Every element of stair safety matters.
Handrails Both Sides
A second handrail on the wall opposite the existing one provides bilateral support throughout the entire stair run — both hands available regardless of travel direction. This is a handyman project costing $150 to $350 in materials and labor. The impact for anyone using stairs daily is immediate and permanent.
Non-Slip Treads
Adhesive non-slip treads with contrasting color on every step — particularly the top and bottom steps where misjudged transitions most commonly occur. Under $40 for a full staircase. Applied without tools.
Lighting at Both Ends
Three-way switches so the staircase light is controllable from both top and bottom. No navigating stairs in the dark to reach a switch at the other end. Our guide on how to prevent falls on stairs covers every stair modification in detail.
Stairs Completely Clear
Nothing stored on any step. Ever. Not temporarily. Not “just for now.” Stairs require complete attention and clear foot placement — items on steps are an unacceptable hazard at any level of mobility.
Entryway and Exterior
Exterior Steps
A secure handrail at every exterior step — including single steps. Single exterior steps cause a disproportionate share of outdoor falls because they’re approached with less caution than full staircases.
Exterior Lighting
Motion-activated lighting at all entry points. Adequate illumination from parking area to front door. No dark patches between the car and the entry.
Entry Mat
The entry mat is the first floor surface contacted coming in from outside — often with wet shoes in rain. It must stay completely in place under that wet-shoe first step. Secured with non-slip backing and checked periodically.
Wheelchair Ramp
For anyone with significant mobility limitations where exterior steps have become a barrier — a portable wheelchair ramp eliminates the step entirely. Our review of the best portable wheelchair ramp covers the 5-foot folding option with 800 lb capacity.
→ Get the Gardhom Wheelchair Ramp on Amazon
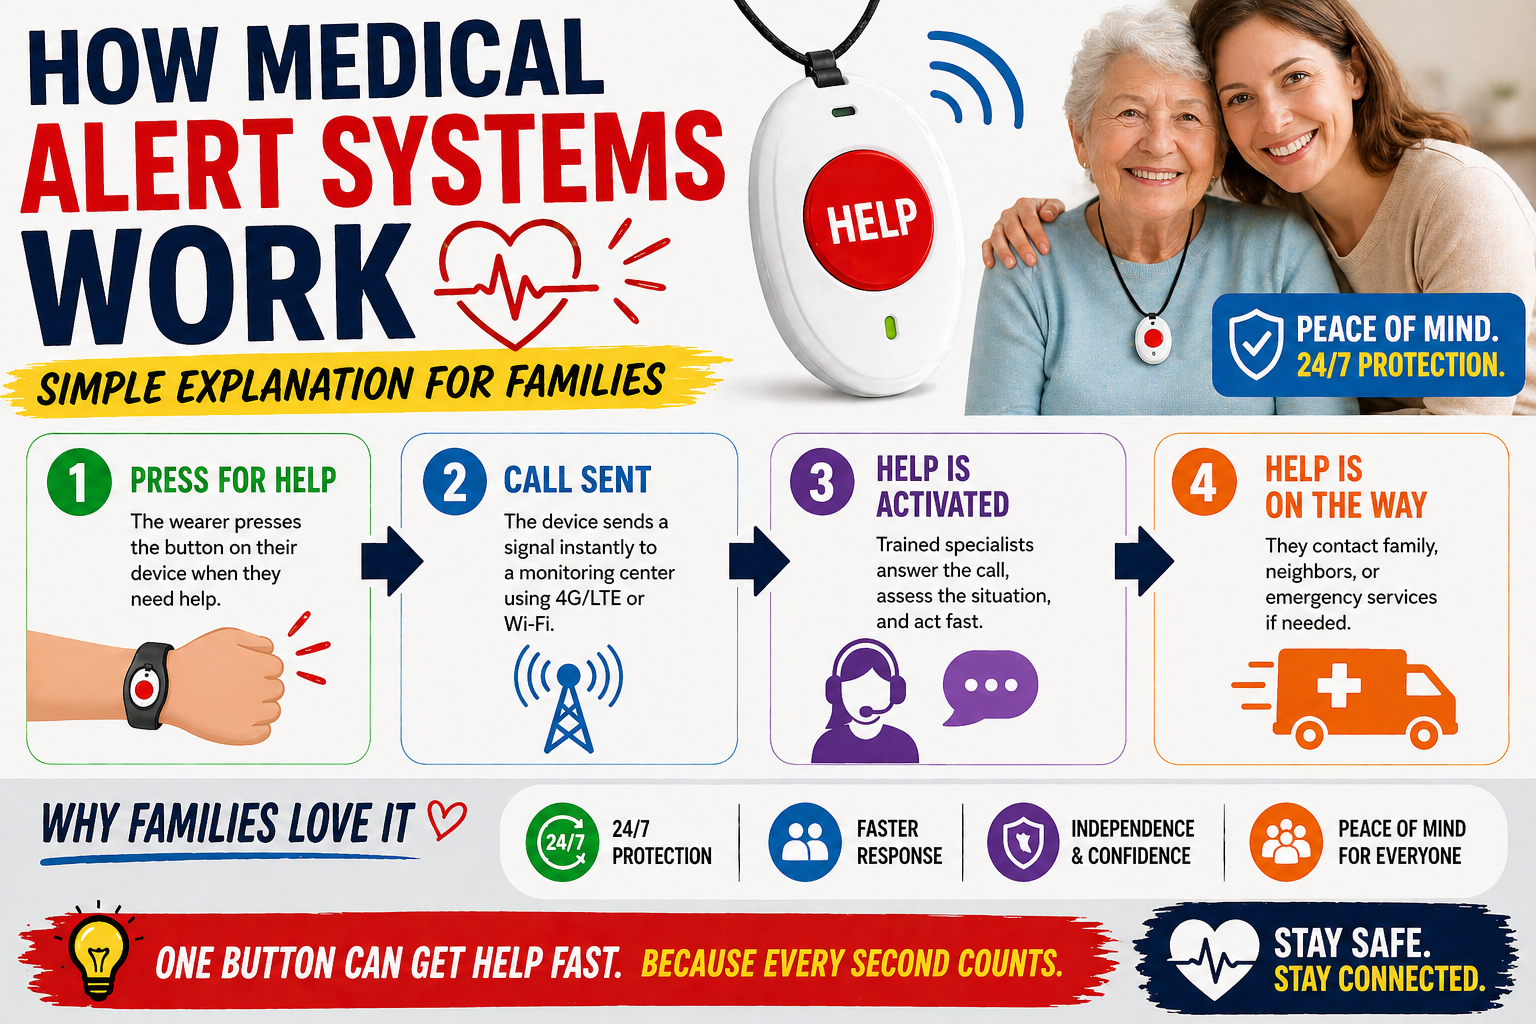
The Safety Net — Detection Technology
Every modification above reduces fall probability. None reduces it to zero. The question worth answering before rather than after: if a fall occurs despite every modification, what happens next?
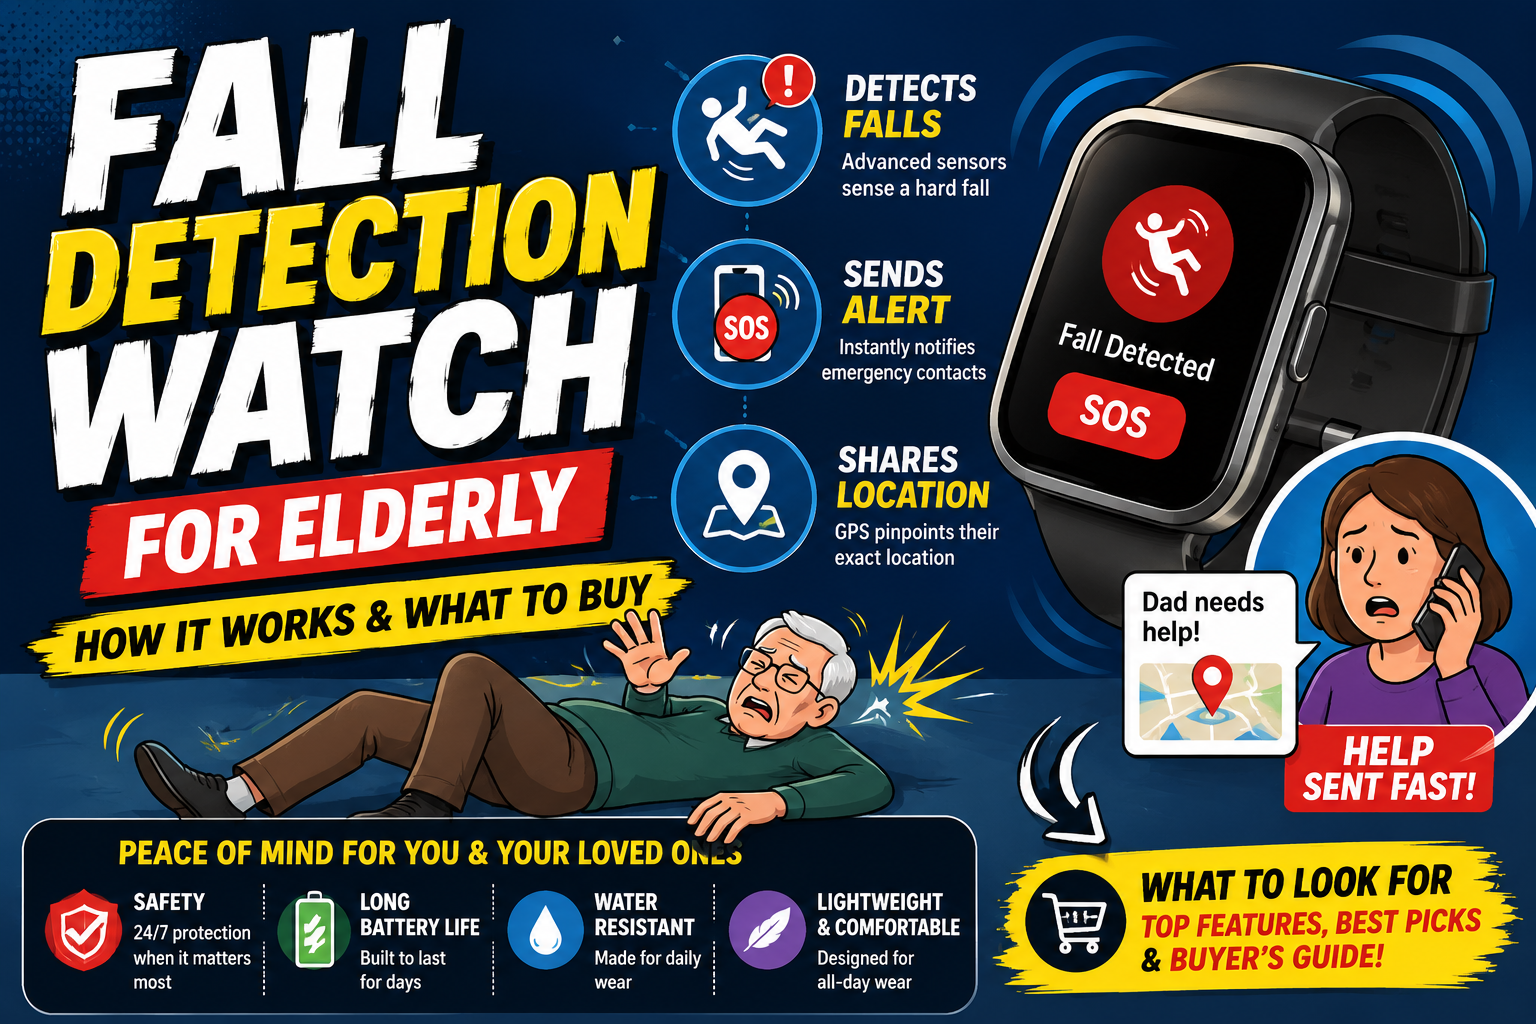
The SecuLife Smartwatch — worn on the wrist — provides automatic fall detection that alerts family immediately with GPS location without requiring any action from the person who has fallen. It goes everywhere in the home including the bathroom and the bedroom during the nighttime trips where fall risk is highest.
As covered in our guide on what happens to seniors who fall and can’t get up and our guide on the first 60 minutes after a senior falls are the most critical — the time between a fall and discovery determines outcomes. The modifications in this guide reduce how often that clock starts. Detection technology determines how long it runs when it does.
Our complete review at SecuLife Smartwatch Review covers every feature worth knowing.
→ Get the SecuLife Smartwatch on Amazon

The Priority Order — What to Do First
Everything in this guide matters. Not everything can be done in a single weekend. Here’s the correct priority order based on impact.
Do free today:
- Remove every unsecured rug from every walking area
- Clear every cord from every walking path
- Clear the bedroom floor path from bed to bathroom completely
- Set water heater to 120°F
Order this week — highest impact:
- Grab bars — shower entry and toilet position
- Toilet safety rails
- Non-slip bath mat
- Bed rail
- Auto-on night lights — three units
- Non-slip grip socks for daily indoor wear
- Medical alert device with automatic fall detection
Schedule this month:
- Grab bar professional installation
- Second stair handrail if stairs are used daily
- Non-slip stair treads
- Kitchen storage reorganization
- Falls-focused medication review with physician
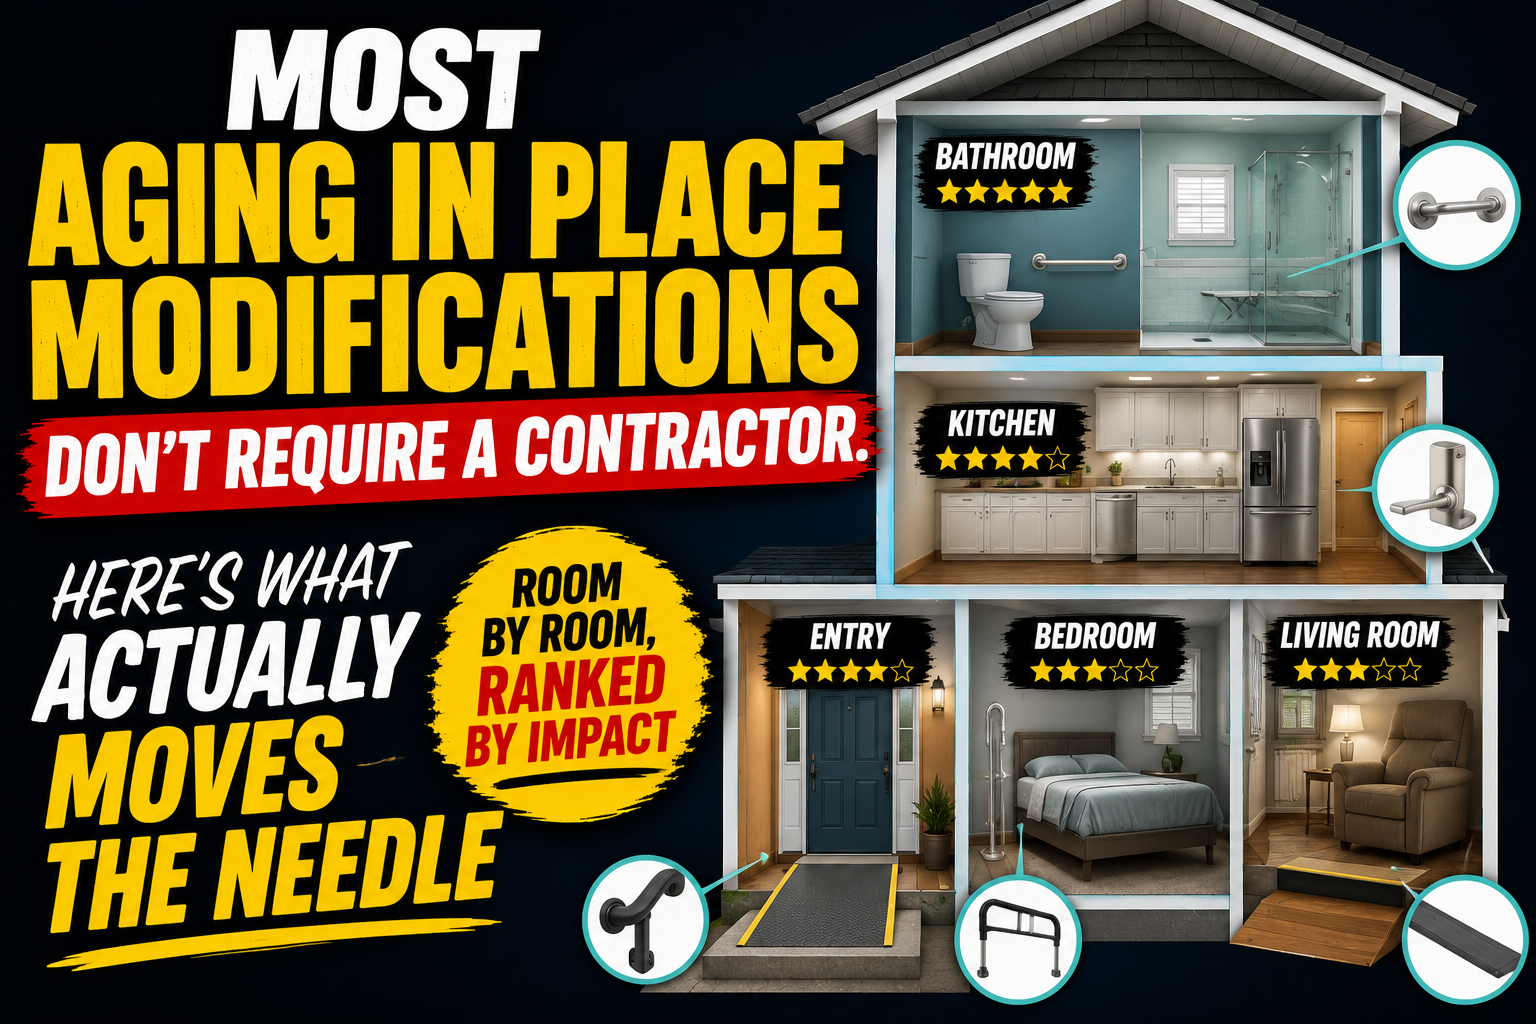
Our guide on home modifications ranked by impact covers the complete priority framework. Our guide on why seniors fall at home covers the eight most common causes with specific fixes for each.
Frequently Asked Questions
How long does fall-proofing a home take?
The free modifications — rug removal, cord clearing, floor clearing — take an afternoon. The product orders arrive within two to three days. Grab bar installation takes two to three hours for a handyman. A second stair handrail takes half a day. The complete fall-proofing project from start to finish is a two-week effort with most of the impact delivered in the first weekend. Maintenance — checking that modifications are still in place and functioning — takes an hour every six months.
How much does it cost to fall-proof a home?
The free modifications cost nothing. The core products — grab bars, toilet rails, bath mat, bed rail, night lights, non-slip socks — total approximately $200 to $350. Adding a shower chair and medical alert device brings the total to approximately $500 to $700. Professional grab bar installation adds $100 to $200. A second stair handrail adds $150 to $350. The complete project typically costs $600 to $1,000 — less than the average emergency room visit for a fall-related injury.
Can I fall-proof a rental property?
Most fall-proofing modifications are either completely reversible or don’t require permanent changes. Rug removal, cord routing, non-slip socks, bed rail, toilet rails, night lights, and shower chair all require no drilling or permanent alteration. Grab bars and stair handrails require drilling — many landlords approve these for aging or disabled tenants when asked directly. Frame it as a reasonable accommodation request. The vast majority of the impact is achievable in any rental.
What if my parent resists the modifications?
Start with the ones that don’t require agreement — remove the rugs, replace the bath mat, plug in the night lights, give non-slip socks as a gift. These can happen during a visit without a lengthy conversation. For modifications that do require discussion our guide on your parent said they’re fine covers exactly how to navigate resistance effectively.
How often should I reassess the home?
Every six months — and after any significant health event, fall, hospitalization, or medication change. Physical capacity changes gradually and the home modifications appropriate at one level of function may be insufficient at a later level. Six-month reassessments keep the safety picture current rather than letting it become outdated while circumstances have quietly shifted.

A Fall-Proof Home Is a Home That Works for You
Fall-proofing a home isn’t about making it look like a medical facility. The grab bars blend with bathroom fixtures. The non-slip mat looks like a stylish bathroom accessory. The bed rail sits at the bedside like any bedside table. The night lights glow softly rather than flooding rooms with harsh light.
What changes is invisible to anyone looking at the home — but immediately apparent to the person living in it. Every shower is safer. Every toilet transfer is supported. Every nighttime trip has a lit path and a firm handle at the bed edge. Every step on smooth floors has traction rather than sliding.
A fall-proof home isn’t a compromise. It’s a home that works as well for the person living in it at 80 as it did at 60 — because it’s been adapted to match the person rather than requiring the person to match it.
Start this weekend. Room by room. The home that was accumulating risk becomes one that’s genuinely safe.
→ Get the Night Lights on Amazon
→ Get the SecuLife Smartwatch on Amazon


About the Author
Carol Simmons is a Certified Aging-in-Place Specialist (CAPS) who has completed hundreds of home fall-proofing assessments. The pattern she sees consistently: homes with significant fall hazards in every room, families who didn’t know where to start, and modifications that — once made — produced immediate, noticeable improvements in daily safety and confidence. Fall-proofing a home is one of the most impactful things a family can do for an aging parent. It is also one of the most straightforward — specific hazards with specific fixes, prioritized by impact, achievable over a single focused weekend. She writes for Elder Safety Guide to give families the room-by-room clarity that makes starting easy and finishing satisfying.