Most people have never practiced getting up from the floor after a fall. Here’s the correct step-by-step technique — and when not to attempt it at all.
Knowing how to get up from the floor after a fall is one of the most practical and most overlooked skills in senior safety. Most people have never thought about it — because they’ve never needed to. Until the moment they do.
That moment — lying on the floor, assessing whether you’re hurt, figuring out how to get up — is not the time to be figuring out the technique for the first time. The correct method for getting up after a fall is specific, sequential, and dramatically safer than the instinctive response most people attempt.
This guide covers exactly how to get up from the floor safely — and what to do before attempting it, when not to attempt it at all, and how to make sure the situation that put you on the floor is addressed so it doesn’t happen again.
Before You Try to Get Up — This Comes First
The instinct after a fall is to get up immediately. That instinct is wrong — and following it is how falls that cause minor injury become falls that cause serious injury.
Stay Still and Assess First
Take 60 seconds — minimum — to lie still and assess before attempting any movement. This is not wasted time. It’s the assessment that determines whether getting up independently is safe or whether attempting to do so will make a recoverable situation worse.
What to assess:
Pain. Where are you hurting? Is the pain severe? Does it feel like it’s coming from a specific location — a hip, a wrist, your back, your head? Pain that is severe, localized, and made worse by any movement may indicate a fracture. Attempting to get up with a fractured hip is the mechanism that turns a manageable fracture into a surgical emergency.
Your head. Did you hit your head? Are you dizzy? Confused? Seeing double? Any neurological symptom after a fall — particularly after a head impact — means you need to call for help rather than attempt to get up independently.
Your ability to move. Can you move all your limbs? Is there any numbness or tingling? Any weakness that wasn’t there before the fall? These symptoms indicate possible spinal or neurological injury — do not attempt to get up.
Your surroundings. Are you in a position that’s putting pressure on any part of your body? Is there anything sharp under you? Are you cold — on a tile floor in a bathroom that may be cool? Understanding your physical situation before moving prevents compounding the initial injury.
When NOT to Attempt Getting Up Independently
If any of the following are present, do not attempt to get up. Call for help instead — phone, medical alert device, yelling for someone nearby.
- Severe pain anywhere — particularly hip, groin, back, or neck
- Inability to move a limb or bear weight on it
- Head injury, confusion, dizziness, or visual changes
- Numbness or tingling anywhere
- Any feeling that something is “wrong” that you can’t fully identify
The cost of calling for help unnecessarily is minor inconvenience. The cost of attempting to get up with an undetected fracture or spinal injury is potentially catastrophic. When in doubt, call for help.
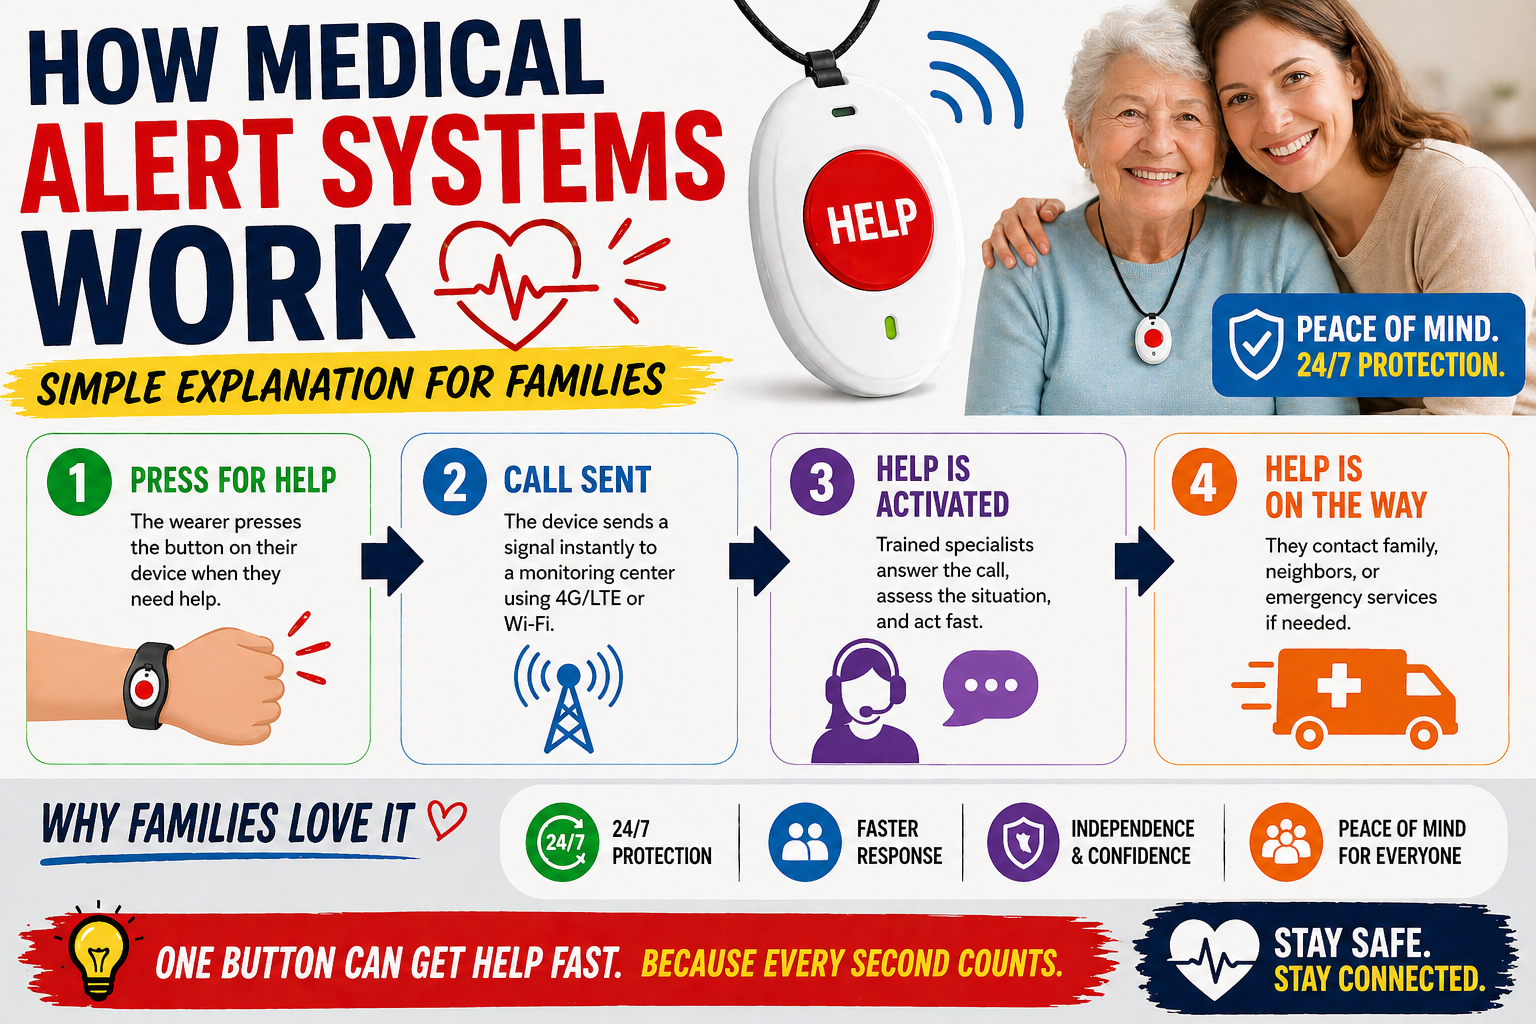
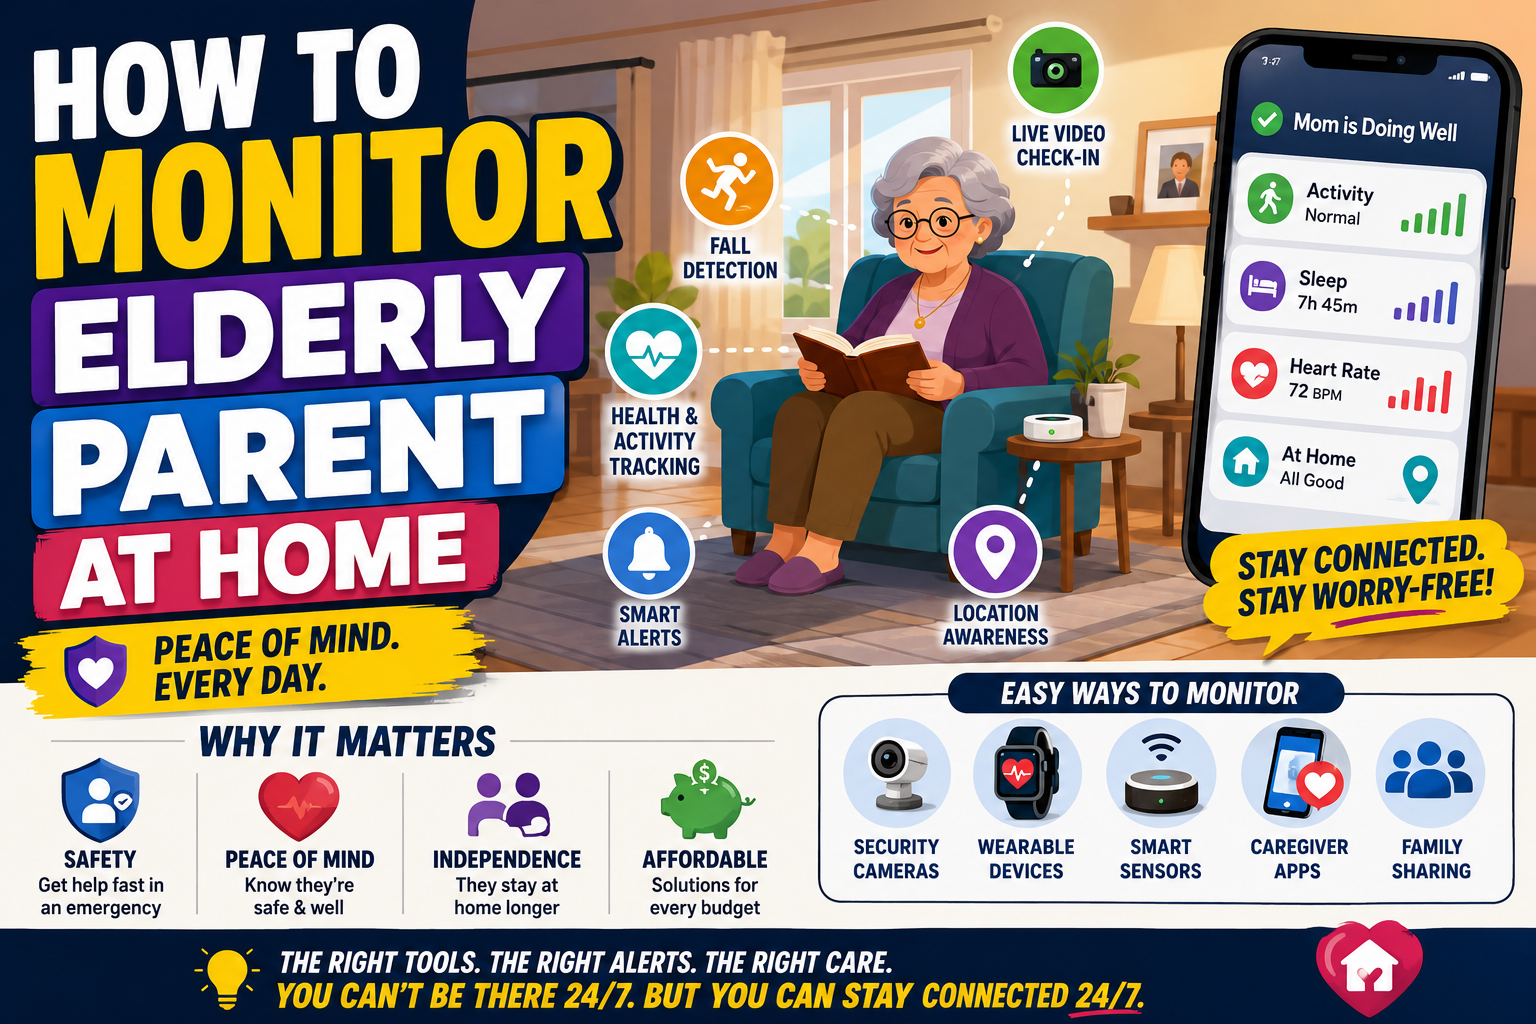
This is exactly why having a medical alert device with automatic fall detection — or a phone within reach — is so critical. As we covered in our guide on the first 60 minutes after a senior falls are the most critical — the ability to call for help from the floor is the difference between a manageable situation and a long lie with cascading consequences. The SecuLife Smartwatch detects falls automatically and alerts family immediately — without requiring you to do anything. Our complete review at SecuLife Smartwatch Review covers every feature worth knowing.
→ Get the SecuLife Smartwatch on Amazon


How to Get Up From the Floor Safely — Step by Step
If after your assessment you have no severe pain, no neurological symptoms, and no inability to move your limbs — you can attempt to get up using this sequence. Go slowly. Stop if anything changes.
Step 1 — Rest and Recover
Before any movement lie still for a full minute. Slow your breathing. Let the initial shock of the fall pass. This isn’t just psychological — it allows your blood pressure to stabilize and your body to assess itself before the demands of movement begin.
If you’re on a cold floor — tile bathroom floor particularly — getting a blanket or towel within reach while you rest is worth doing. Hypothermia risk from cold floor contact begins within 20 to 30 minutes as we covered in our guide on what happens to seniors who fall and can’t get up.
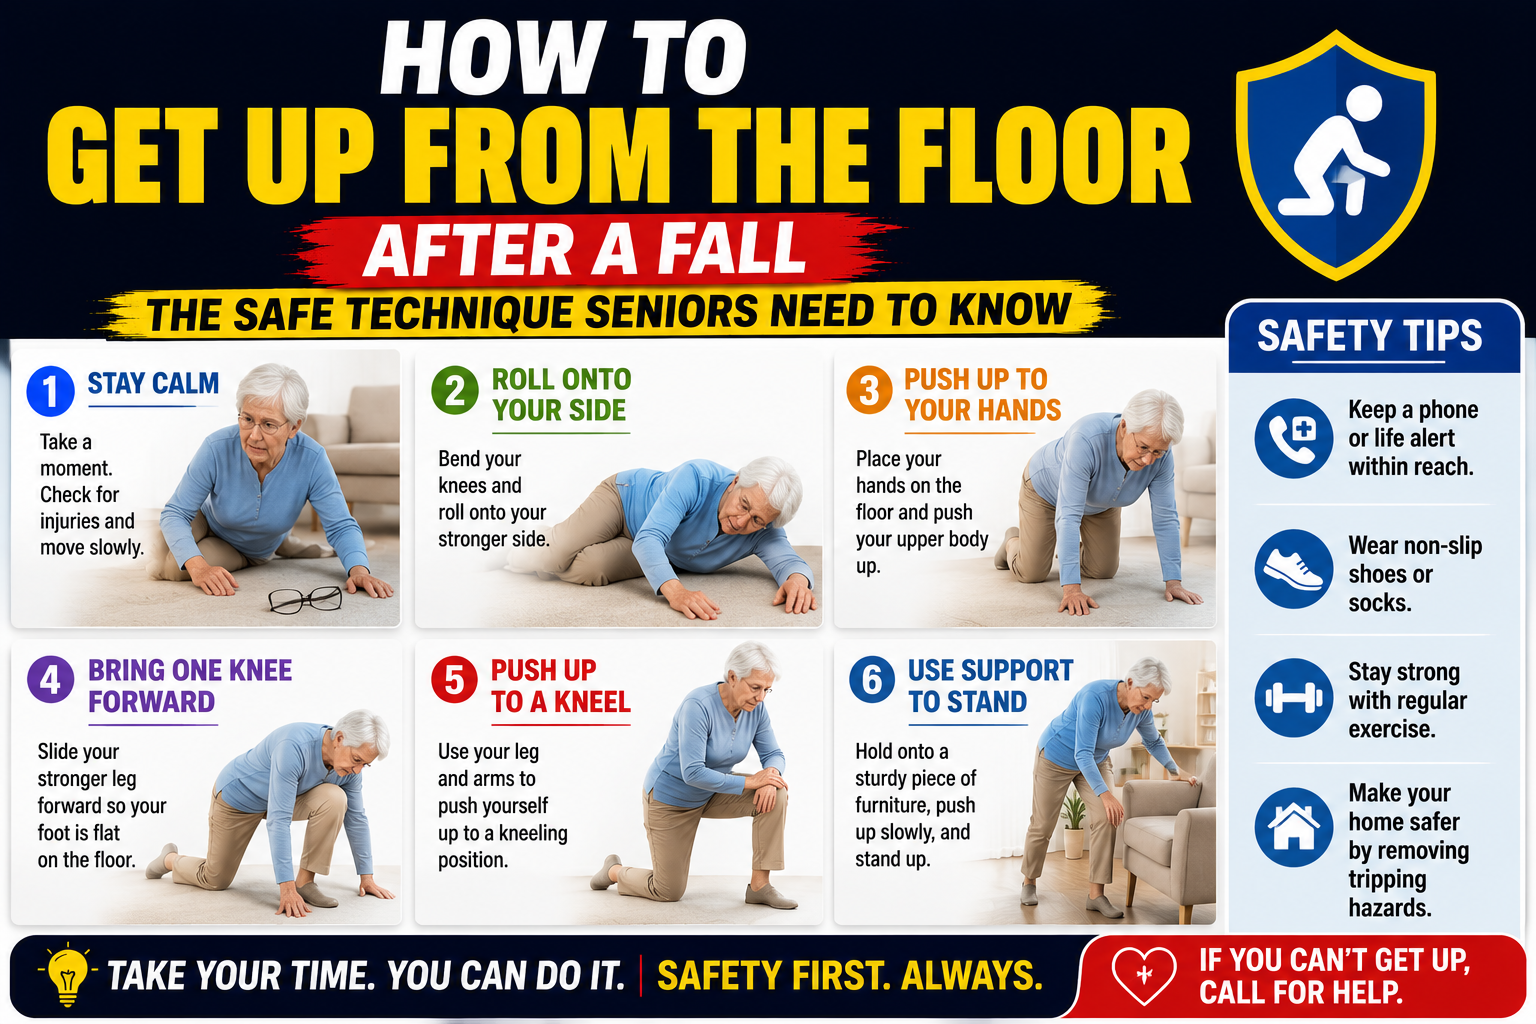
Step 2 — Roll to Your Side
Do not attempt to sit straight up from lying on your back. The abdominal strength required for this movement is significant and the motion is unstable. Instead roll to your side — whichever side has less pain, or your stronger side if both are equal.
To roll to your side: bend the knee of the top leg, place that foot flat on the floor, and use the momentum of that leg combined with your arm to roll your body to the side. Move slowly and stop if you experience pain that wasn’t present lying flat.
Rest in the side-lying position for a moment before continuing.
Step 3 — Push to Hands and Knees
From the side-lying position, use your arms to push your upper body up while simultaneously bringing your knees under you. The goal is to end in a hands-and-knees position — on all fours — which is a stable, low-to-ground position that gives you multiple support points before attempting to stand.
If getting to hands and knees produces severe pain — particularly hip or groin pain — stop immediately. Do not continue attempting to get up. Call for help.
Rest in the hands-and-knees position. Assess again — any new pain? Any dizziness from the change in position? Allow any dizziness to pass before continuing.
Step 4 — Move to a Sturdy Object
From hands and knees, crawl to the nearest sturdy, stable piece of furniture — a couch, a heavy chair, a bed. Not a coffee table that could tip. Not a light chair that could slide. Something that will hold your weight as you push against it.
This crawling movement keeps you close to the ground and uses your strongest muscle groups — arms and legs simultaneously — rather than the balance-dependent upright movements that make immediate standing risky.
Step 5 — Move to Kneeling
Position yourself beside the sturdy object with both hands on its surface for support. From hands and knees, bring one knee up so that foot is flat on the floor — your stronger leg. You are now in a half-kneeling position — one knee on the floor, one foot flat.
Rest here. Check again for dizziness or new pain before continuing.
Step 6 — Push to Standing
From the half-kneeling position, press both hands firmly onto the furniture surface, lean slightly forward, and push through your flat foot to bring your other knee up and both feet flat on the floor. You are now in a bent-forward standing position with both hands supported on the furniture.
Push upright slowly. Keep both hands on the furniture as you straighten. Do not release the furniture support immediately — hold it while your blood pressure normalizes and you confirm your balance is stable.
Step 7 — Move Directly to a Seated Position
Turn around slowly — keeping hands on furniture — and lower yourself to sit on the surface you used for support. Do not stand unsupported in the open as your first action after getting up. Sit first. Assess again from the seated position before any further movement.
Rest seated for several minutes. Assess how you feel. Any pain that’s new or significantly worse than immediately after the fall warrants a call to your physician or a family member — even if you’ve successfully gotten up.

What If There’s No Furniture Nearby
The sequence above assumes a sturdy piece of furniture is reachable by crawling. If you’re in the center of a room or in a bathroom where nothing suitable is within reach from the floor, the approach changes.
Crawl to Something Sturdy
From hands and knees crawl to the nearest sturdy object — even if it requires crossing a room. The toilet is a sturdy fixed object that works for the half-kneeling to standing sequence. A bathtub edge. A wall corner where you can brace both hands. Any fixed structure that won’t move when your full weight bears against it.
The Toilet as a Support Structure
The toilet is particularly useful for getting up in a bathroom fall scenario — it’s the right height for the half-kneeling sequence, it’s fixed and load-bearing, and it puts you immediately adjacent to the toilet for sitting once you’re up.
Approach the toilet from the side rather than from in front — hands on the seat or rim, body to the side, using the toilet for the same push-to-standing sequence described above.
This is also exactly why toilet safety rails are so important — they provide additional support at exactly this location for both planned toilet transfers and the unplanned recovery-from-fall scenario. Our review of the best toilet safety rails covers the specific option we recommend.
→ Get the Toilet Safety Rails on Amazon
If You Cannot Get Up — What to Do While Waiting for Help
If you’ve assessed that getting up independently isn’t safe — or if you’ve attempted the sequence and cannot complete it — the priority shifts from getting up to staying safe while waiting for help.
Call for Help Immediately
Phone. Medical alert device. Yelling for someone nearby. Any method of alerting someone to your situation. As covered in our guide on what happens to seniors who fall and can’t get up — the physiological consequences of a long lie begin accumulating within 30 minutes. Calling for help immediately rather than waiting and hoping to manage it yourself is critical.
The SecuLife Smartwatch with automatic fall detection means this call may have already gone out — the device may have already alerted family with your GPS location without you doing anything. This is the scenario where the value of automatic detection versus button-only detection is most apparent. Our guide on best SOS watch for seniors covers why automatic detection matters in exactly this situation.
Stay Warm
If you’re on a cold floor — particularly a tile bathroom floor — hypothermia risk is real within 30 to 60 minutes. If there’s any way to reach a towel, blanket, or even clothing within arm’s reach, use it to cover yourself. Maintaining core temperature while waiting for help reduces the physiological consequences of the wait.
Move Periodically If Possible
If you’re not immobilized by injury and can move somewhat, shift your position periodically — every 15 to 20 minutes — to reduce pressure on bony prominences and reduce rhabdomyolysis risk from sustained compression. Even small position changes help.
Stay as Calm as Possible
The stress response to a fall — fear, panic, elevated heart rate — has physiological consequences that compound the physical ones. Slow, deliberate breathing. Focusing on what you can control — staying warm, calling for help, moving position. Calm waiting produces better physiological outcomes than panicked waiting.

Practicing the Technique Before You Need It
The floor-getting-up sequence above is significantly more effective when it’s been practiced at least once in a non-emergency situation. Practicing on a soft surface — a carpeted floor — with someone nearby gives you the muscle memory of the sequence before the fall that makes it necessary.
Consider practicing this with your parent — or trying it yourself — during a calm moment. Lower yourself to the floor deliberately, work through the sequence, get up. The goal is familiarity with the movements so they’re available automatically when needed rather than being figured out under stress on a tile floor.
This is one of the most underused fall preparation strategies available. It costs nothing, takes ten minutes, and may be the difference between a manageable fall and one that becomes a long lie because the technique wasn’t known.

After Getting Up — What to Do Next
Successfully getting up from the floor after a fall is the beginning of the response, not the end of it. The steps that follow in the hours and days after matter as much as getting up safely did.
Our complete guide on how to help an elderly parent after a fall covers the complete post-fall response — medical evaluation, documentation, medication review, home modifications, and the conversation about what changes need to happen to prevent the next fall.
The fall that just happened is the most powerful motivator for implementing the changes that would have prevented it. The bathroom modifications. The bed rail. The night lights. The medical alert device. As we covered in our guide on the phone call that comes after a senior falls — families implement in days after a fall what they didn’t implement in months before one. The urgency was always there. The fall just made it undeniable.
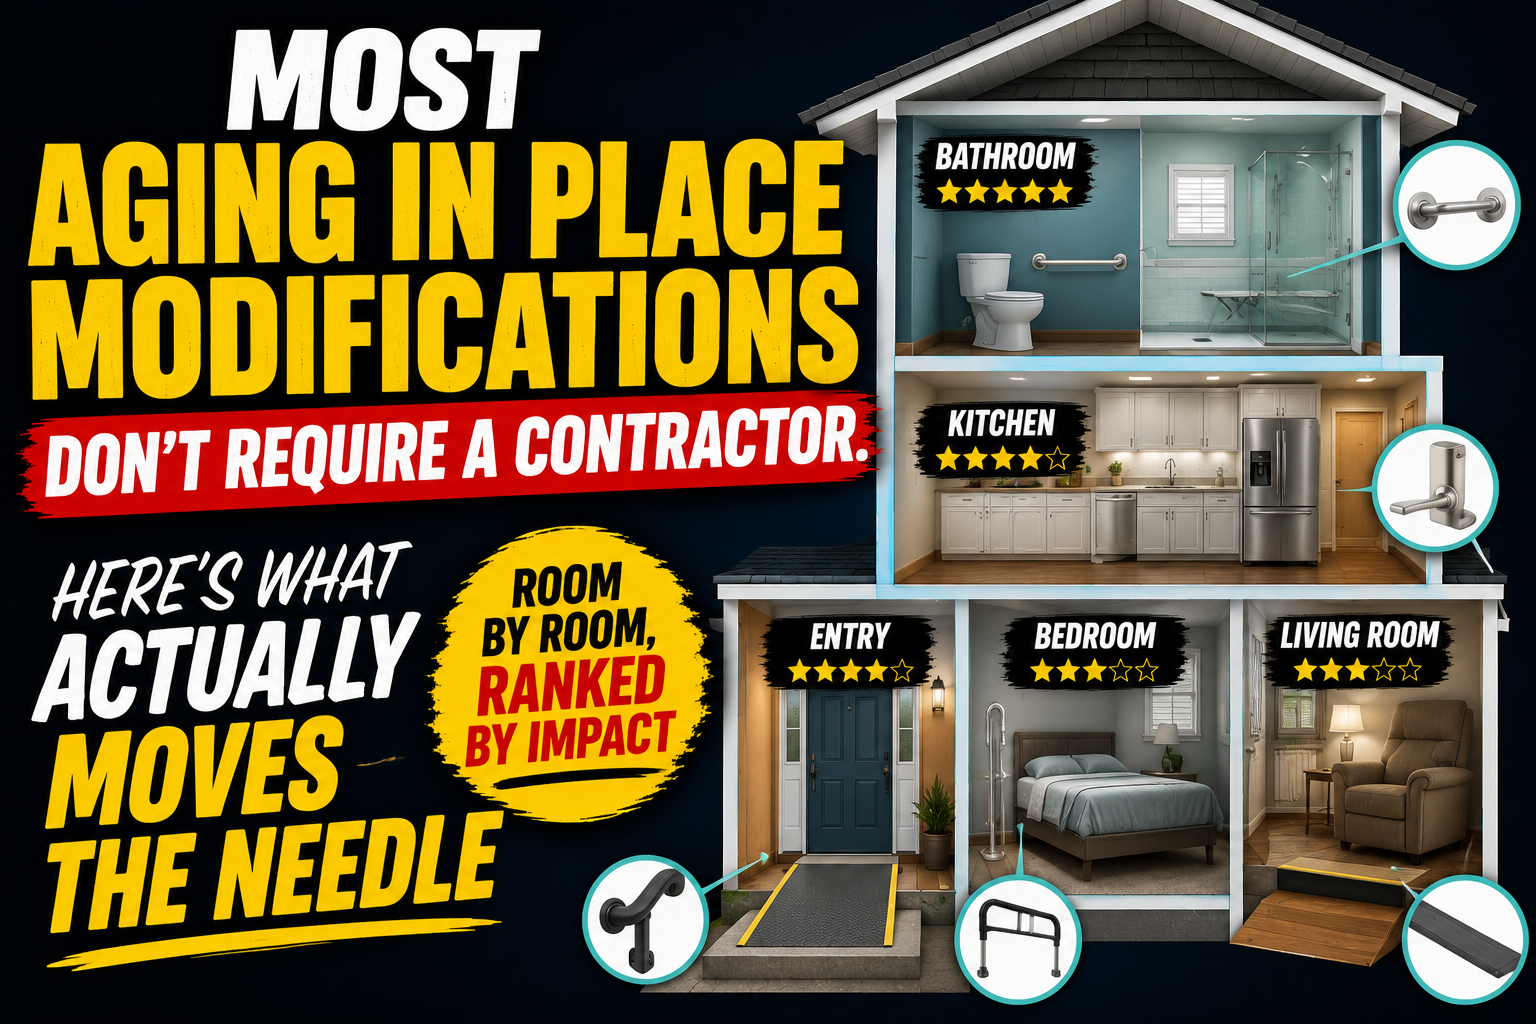
The Bathroom Modifications That Address the Most Common Fall Location
If the fall happened in the bathroom — the most common fall location as covered in our guide on the bathroom causes more senior falls than stairs, cars, and ice combined — these specific modifications address the mechanisms responsible.
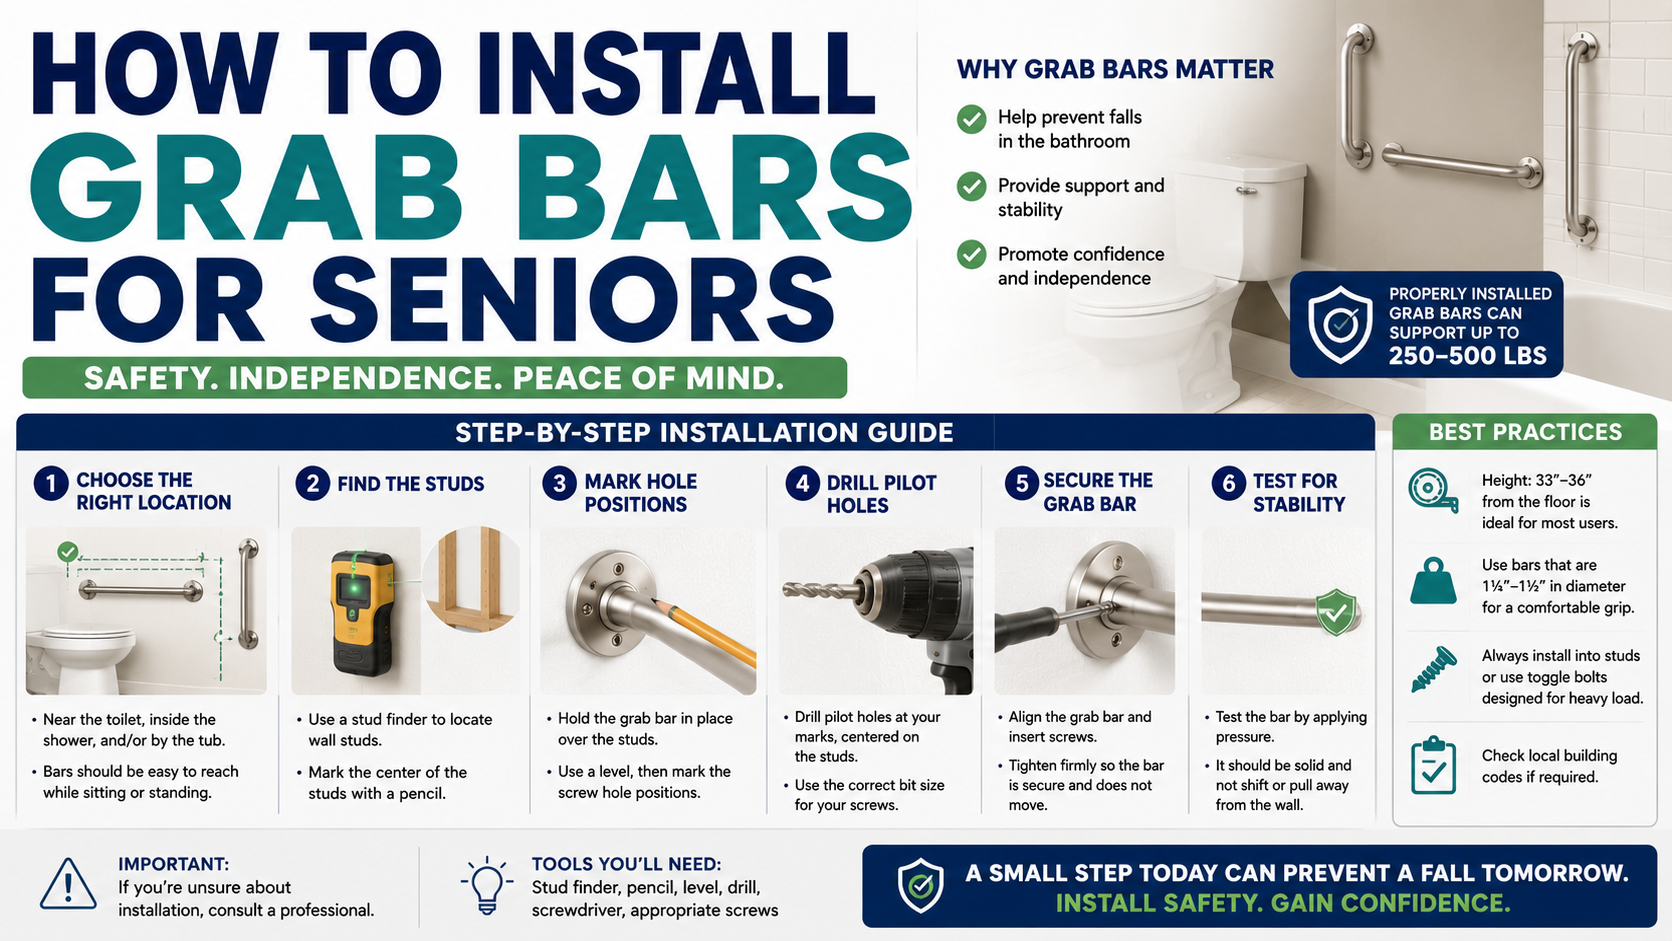
Grab bars at the shower entry and next to the toilet. Our guide on most grab bars are installed in the wrong place covers exactly where they need to go. Our review of the best grab bars for seniors covers exactly what to buy.
Non-slip bath mat. Shower chair. Night lights on the complete path from bed to bathroom. Our complete guide on safe shower setup for elderly adults covers every modification in priority order.
→ Get the Shower Chair on Amazon
→ Get the Night Lights on Amazon
The Bedroom Modifications That Address the Getting-Up Risk
If the fall happened getting out of bed — covered in detail in our guide on getting out of bed is the most dangerous moment of a senior’s day — a bed rail addresses the specific mechanism directly. The firm handle to push against during the sitting-to-standing transition. Present every morning and every nighttime trip.
Frequently Asked Questions
Is it safe to get up immediately after a fall?
No — getting up immediately without assessment is one of the most common ways a manageable fall injury becomes a serious one. Take a minimum of 60 seconds lying still to assess for pain, neurological symptoms, and ability to move all limbs before attempting any movement. If any concerning symptoms are present call for help rather than attempting to get up independently.
What if I can’t get to my knees from the floor?
If you cannot complete the hands-and-knees step — due to knee pain, weakness, or inability to bear weight on your knees — do not force it. Stay on your side, call for help, and stay warm while waiting. Attempting to force a movement that your body cannot safely complete risks additional injury. Call for help and wait.
How long is it safe to wait on the floor if I can’t get up?
Call for help immediately — do not wait on the floor hoping to figure out a way up. As covered in our guide on what happens to seniors who fall and can’t get up, physiological consequences — hypothermia, rhabdomyolysis, dehydration — begin accumulating within 30 minutes on a cold floor. There is no safe waiting period. Call for help as soon as you assess that you cannot get up safely independently.
Should I call 911 or a family member first?
If you have any concerning symptoms — severe pain, inability to move a limb, head injury, confusion — call 911 first. If you’re on the floor but have no concerning symptoms and need assistance getting up, calling a family member or using your medical alert device is appropriate. If a family member can’t arrive quickly, call 911. Emergency services would rather respond to a non-emergency than have you wait hours for help.
How do I prevent falling when getting up from the floor in the future?
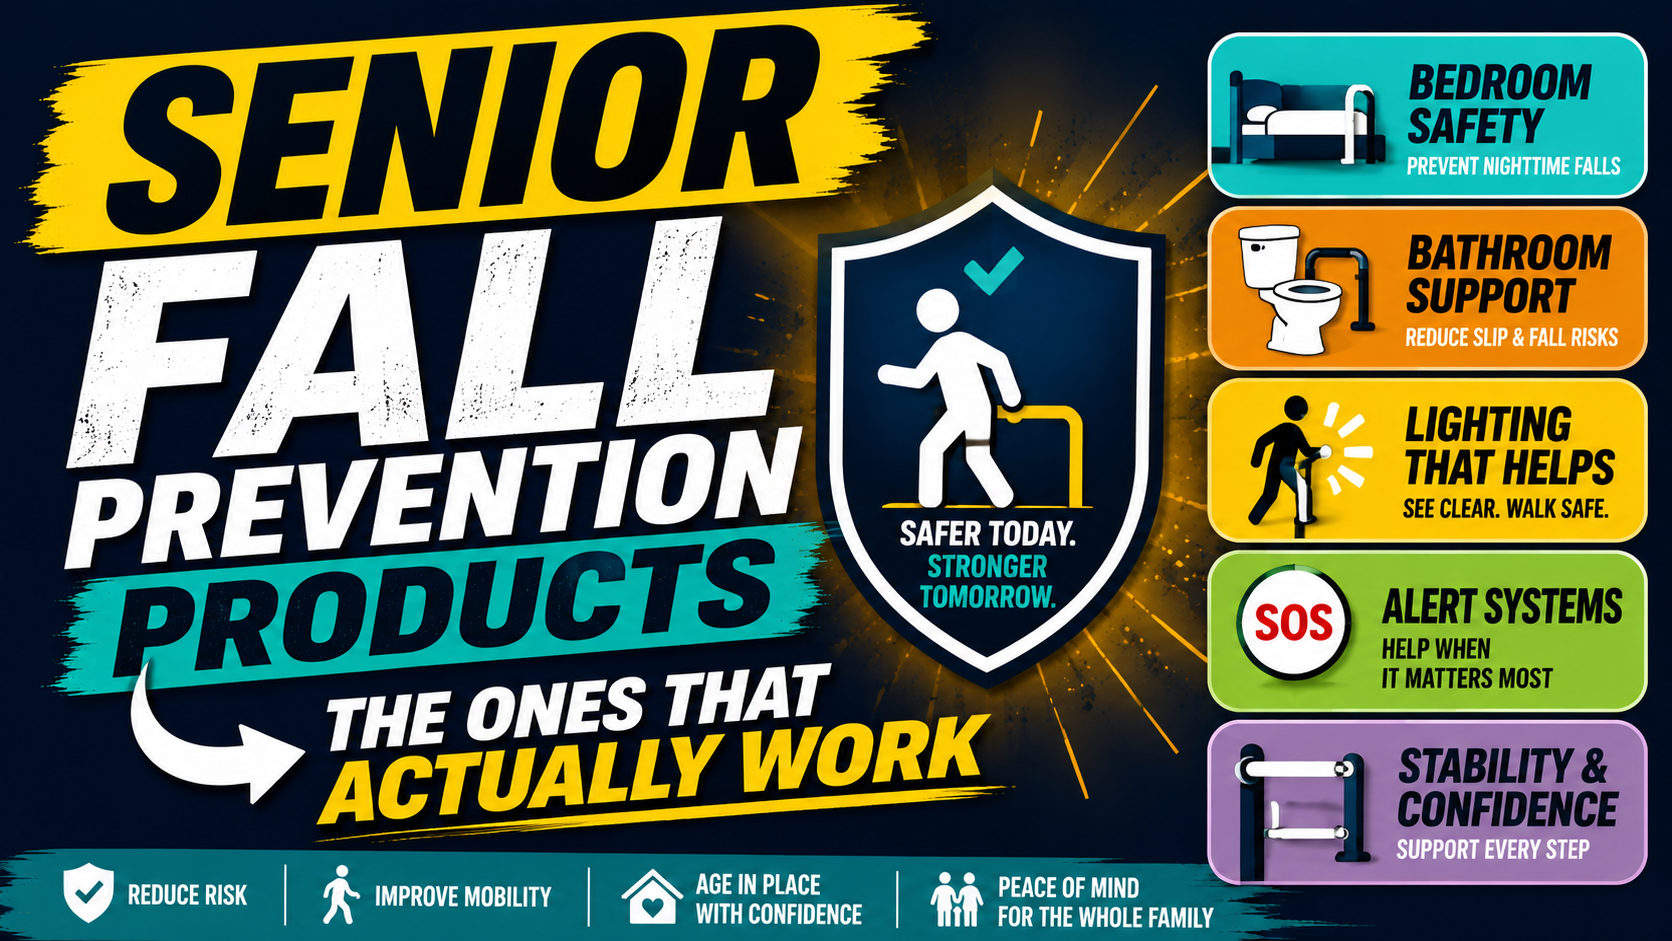
Practice the technique above at least once on a soft surface so the sequence is familiar before it’s needed. Install a medical alert device with automatic fall detection so help is alerted immediately if a fall occurs and you can’t get up. And address the home safety modifications that reduce fall probability in the first place — grab bars, bed rail, non-slip mat, night lights. Our guide on senior fall prevention products that actually work covers every product ranked by real-world impact.
Know the Technique Before You Need It
The correct technique for getting up from the floor is not complicated. It’s specific and it’s sequential — and knowing it before a fall happens is what makes it available when one does.
Stay still. Assess. Roll to your side. Push to hands and knees. Crawl to something sturdy. Half-kneel. Push to standing. Sit immediately.
Practice it once. Share it with your parent. Make sure the phone or medical alert device is always within reach in case the technique isn’t enough.
And address the home modifications that reduce the probability of the fall that makes the technique necessary — because the fall that doesn’t happen is always better than the fall managed safely.
→ Get the SecuLife Smartwatch on Amazon — automatic fall detection if you can’t get up
→ Get the Grab Bars on Amazon — prevent the bathroom fall in the first place
→ Get the Bed Rail on Amazon — prevent the getting-out-of-bed fall

About the Author
Tom Garrett spent eight years as an EMT responding to fall calls — arriving to find older adults who had been on the floor for hours because they didn’t know how to get up safely, attempted the wrong technique and made their injury worse, or simply didn’t have a way to call for help from the floor. The technique in this guide is what he wished every older adult knew before the call rather than learning it in the worst possible moment. He writes for Elder Safety Guide because preparation for the fall that might happen is one of the most practical and most overlooked aspects of senior safety.