
Most grab bar installations fail from wrong position or wrong mounting. Here’s the complete installation guide — correct positions, correct hardware, no contractor needed.
Most grab bar installations fail for one of two reasons — wrong position or wrong mounting. A bar in the wrong position doesn’t help during the actual fall moment. A bar mounted incorrectly pulls out of the wall when someone’s full weight bears against it. Either way the bar that was supposed to prevent a fall doesn’t.
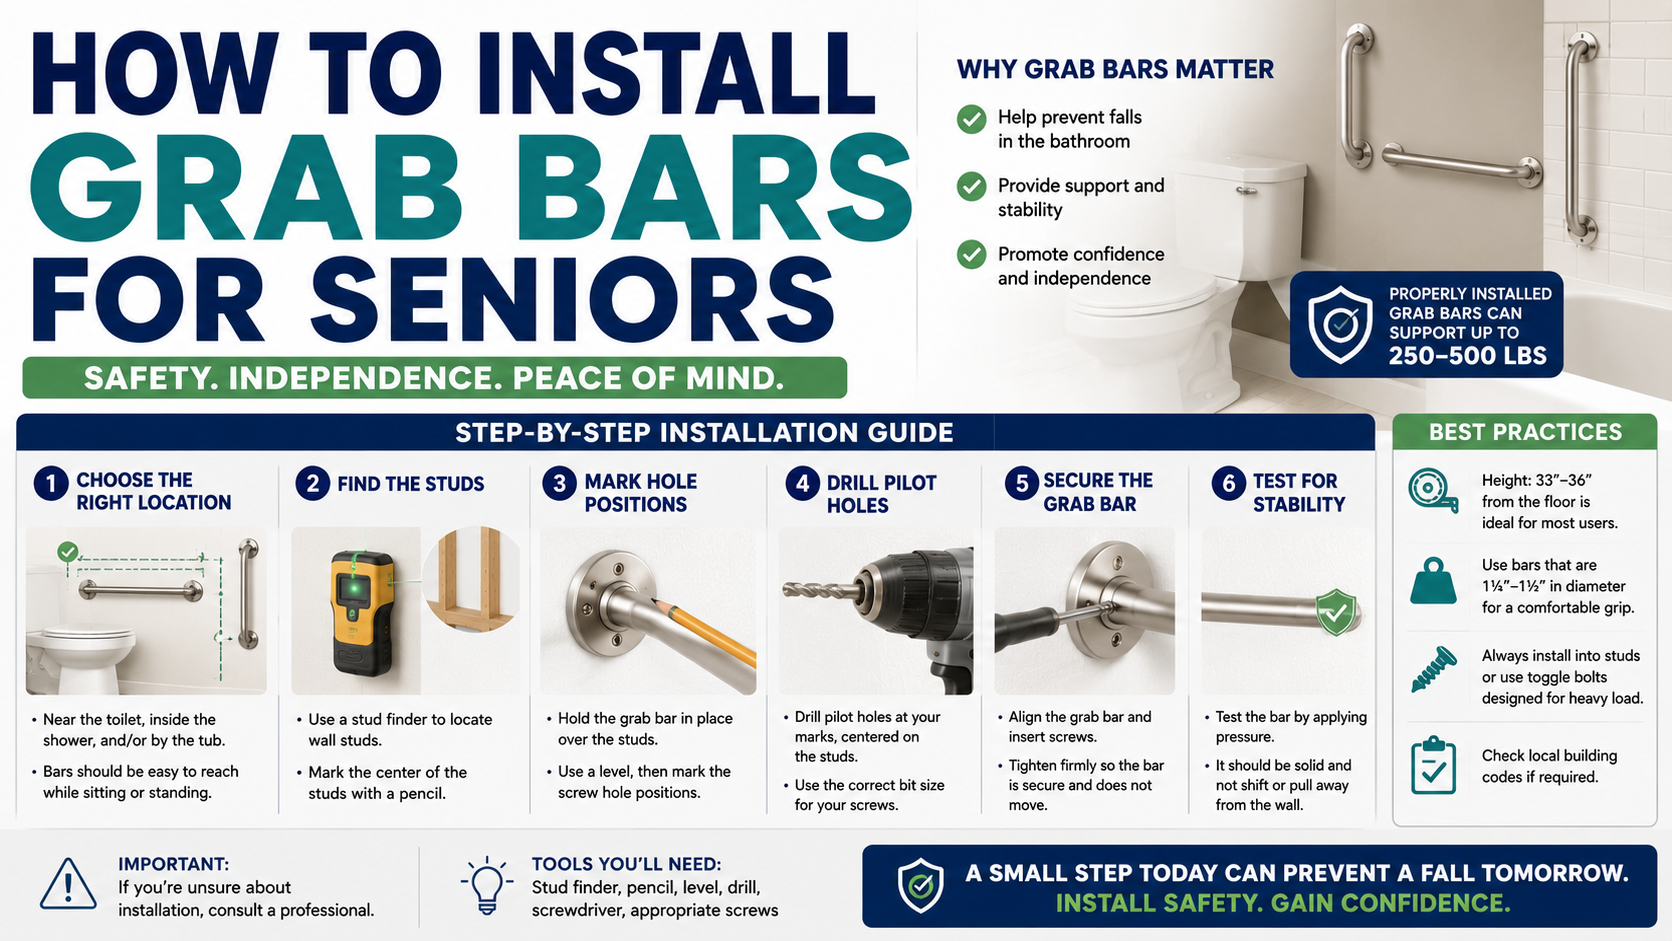
This guide covers how to install grab bars correctly — in the right positions, into the right wall backing, with the right hardware. No plumber. No contractor required for most installations. Just the right information and two hours on a weekend.
What You Need Before Starting
The Right Grab Bars
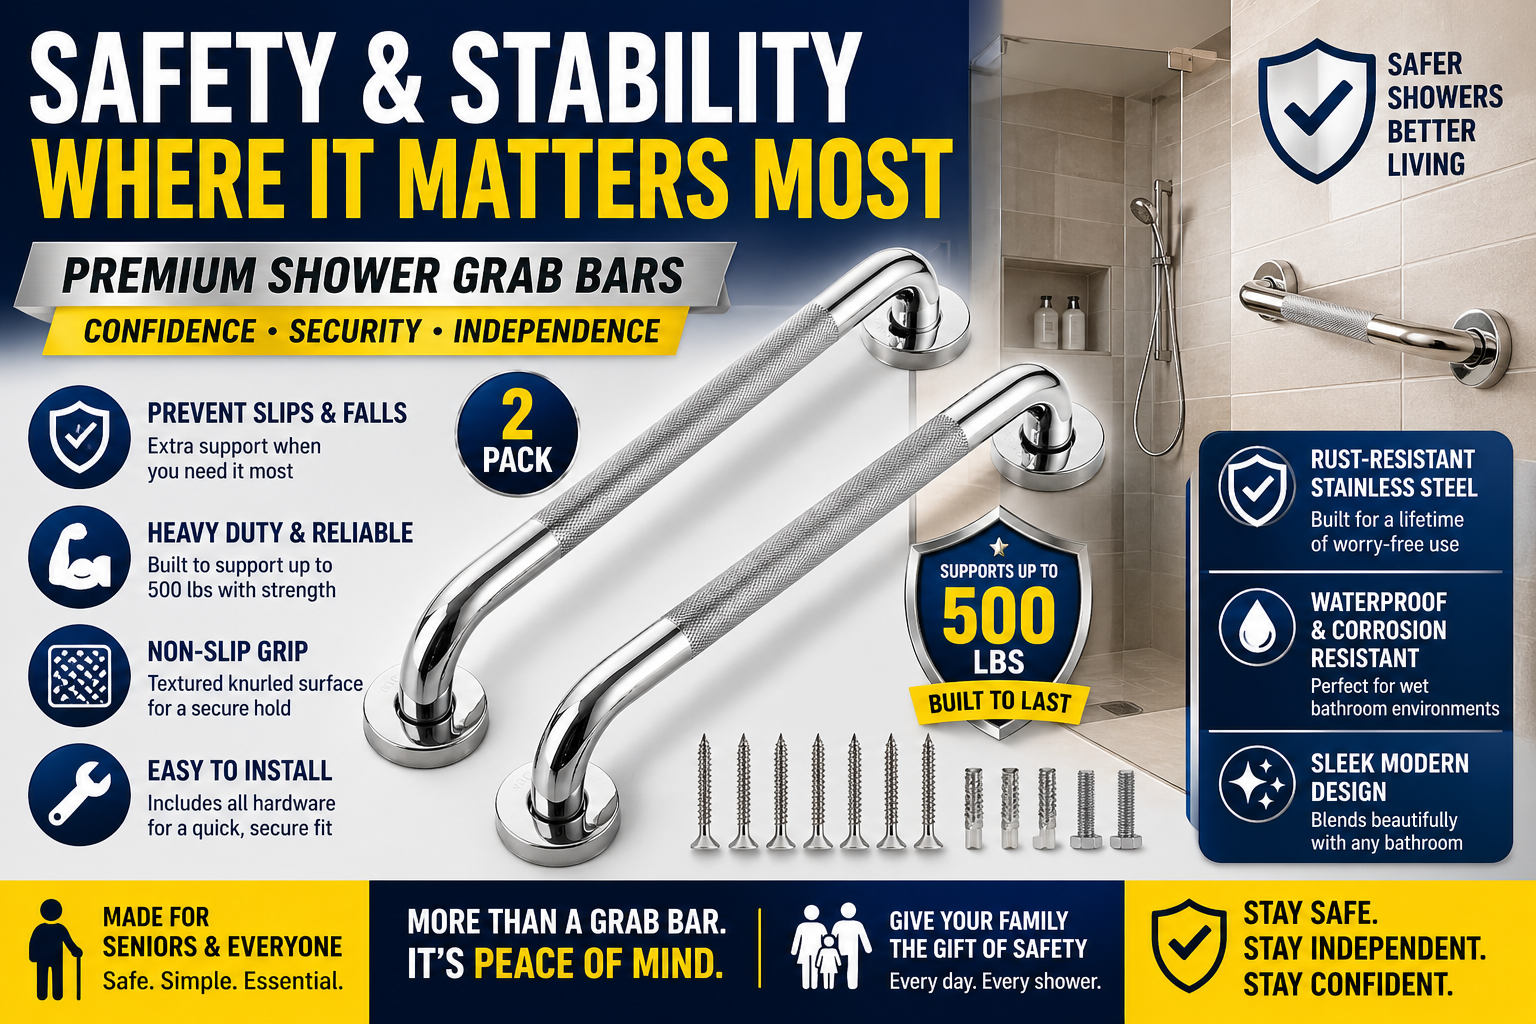
Before installation comes selection. A grab bar worth installing is load-rated for 250 pounds minimum — enough to bear full body weight during a fall without flexing or failing. Stainless steel with a non-slip gripping surface. Flanges wide enough to hit a stud or accommodate proper anchors.
The grab bars we recommend throughout this site — the ones in our complete review — meet every one of these criteria. A 2-pack covers both the shower entry position and the shower back wall in a single purchase.
→ Get the 2-Pack Stainless Steel Grab Bars on Amazon
Our complete review at Best Grab Bars for Seniors covers every feature worth knowing before buying.


The Three Positions Worth Installing
Position matters more than most people realize. As covered in our guide on most grab bars are installed in the wrong place — a bar that isn’t where the hand naturally reaches during a fall doesn’t prevent the fall. Here are the three positions worth installing and the exact measurements for each.
Position 1 — Shower Entry Bar
Inside the shower, on the wall adjacent to the entry point. Vertical or at 45 degrees. Bottom of bar at 33 inches from the shower floor, top at 48 inches. This is the most important bar in the bathroom — addressing the highest-risk transition of every shower.
Position 2 — Shower Back Wall Bar
Horizontal on the back shower wall. Center of bar at 33 to 36 inches from the shower floor. Length of 24 inches minimum. This bar provides stability during showering and assists with the sit-to-stand from a shower chair.
Position 3 — Toilet Bar
On the side wall adjacent to the toilet. Horizontal. 33 to 36 inches from the floor. 6 to 8 inches forward of the toilet front edge. Minimum 24 inches long. This is the push support for the toilet sit-to-stand — one of the most repeated daily fall-risk transitions.


The Four Tools You Need
- Stud finder — the single most important tool for this job
- Drill — with a standard drill bit and a diamond-tipped tile bit if drilling through tile
- Level — for horizontal bars specifically
- Pencil — for marking drill points
That’s it. No special skills. No plumbing knowledge. No contractor required.
Step by Step — Installation Into Studs
Installing into wall studs is the strongest, most reliable mounting method. This is what to aim for whenever possible.
Step 1 — Find the Studs
Run the stud finder across the wall at the planned bar height. Mark stud centers with pencil. In most residential construction studs are spaced 16 inches apart — so once you find one, the next is 16 inches away in both directions.
In shower walls specifically — studs may be harder to locate through tile and backer board. Slow the stud finder movement and repeat multiple passes. If the stud finder is inconsistent through tile, a strong rare-earth magnet can locate the drywall screws that attach backer board to studs — a reliable secondary method.
Step 2 — Confirm the Bar Flanges Hit Studs
Hold the bar at the planned position and check whether the mounting holes in the flanges align with stud locations. Most grab bars have two mounting holes per flange — ideally both hit a stud. If the bar length doesn’t align both flange holes with studs adjust the position slightly along the wall until at least one hole per flange hits a stud. The other hole can use a toggle anchor rated for the load.
Step 3 — Mark the Drill Points
Hold the bar firmly at the confirmed position and mark each mounting hole with a pencil through the hole. Use a level to confirm horizontal bars are level before marking — a bar that looks level to the eye is often slightly off. Mark all mounting holes before drilling any.
Step 4 — Drill Through Tile
Tile cracking is the main concern during drilling and entirely preventable with the right technique.
Place a small piece of masking tape over each drill point — this prevents the drill bit from walking across the tile surface before it bites. Use a diamond-tipped tile drill bit — not a standard bit — at the slowest drill speed with light, steady pressure. Let the bit do the work. No forcing. No high speed. Keep the bit cool by dribbling water on the drill point during drilling or pausing frequently.
Once through the tile switch to a standard drill bit to continue through the backer board and into the stud.
Step 5 — Mount the Bar
Apply a small bead of silicone caulk around each flange before mounting — this seals the wall penetration against water intrusion, which is critical in a shower environment. Drive the mounting screws into the studs firmly. Do not overtighten — snug and firm, not stripped.
For any holes using toggle anchors rather than studs — insert the toggle anchor first per the anchor instructions, then drive the mounting screw into the anchor.
Step 6 — Test Before Trusting
Before anyone puts weight on the bar test it yourself. Grip the bar firmly and apply significant downward and lateral pressure — more than a normal grab, simulating the force of catching a fall. Any movement at all means the mounting needs attention before the bar is relied on. A properly installed bar into studs will not move.


When There Are No Studs in the Right Place
Studs are spaced 16 inches apart — and the correct bar position may not align with stud locations. Three options address this.
Option 1 — Toggle Anchors Rated for the Load
Heavy-duty toggle anchors — specifically the snap toggle or strap toggle style — are rated for significant loads in drywall and backer board. Standard drywall anchors are not. The toggle must be rated for at least 250 pounds in shear load — check the packaging specifically for this rating. Using the right toggle anchor in properly installed backer board provides a reliable mounting when studs aren’t available.
Option 2 — Install Blocking
If the shower wall is being retiled or the wall is being opened for any reason — solid wood blocking can be installed between studs at the correct height, giving a full-width mounting surface that makes grab bar installation at any position simple and maximally strong. If a bathroom renovation is happening this is the right time to add blocking.
Option 3 — Hire a Handyman
If stud location is unclear, if the wall configuration is unusual, or if any doubt exists about the mounting quality — hire a handyman. Grab bar installation typically takes a handyman one to two hours and costs $100 to $200 in labor. Against the cost of a fall-related emergency room visit that cost is trivial. There is no reasonable argument for a poorly installed bar.
Installing the Toilet Bar — What’s Different
The toilet bar installation follows the same process as shower bars with one additional consideration — the toilet itself may be in the way of reaching the wall comfortably for marking and drilling. Measure and mark before the toilet makes access awkward. The side wall adjacent to the toilet is typically drywall rather than tile — making stud finding and drilling simpler than the shower wall.
If the side wall doesn’t have a stud in the right location — or if the bathroom layout doesn’t allow wall mounting — toilet safety rails that clamp directly to the toilet provide equivalent bilateral support with zero drilling required. Our review of the best toilet safety rails covers the tool-free option.
The Most Common Installation Mistakes
Mounting Into Tile Grout Lines
Grout is not structural. A screw in a grout line has almost no load capacity. Every mounting screw must go through tile and into the solid material behind it — backer board, blocking, or stud. Never mount into grout lines.
Using Standard Drywall Anchors
The plastic expanding anchors used for hanging pictures are not appropriate for grab bars. They fail at the loads that grab bars experience during actual use. Use studs or properly rated toggle anchors — nothing else.
Installing a Towel Bar Instead
Towel bars look similar and are often already in place where a grab bar should go. They are not rated for body weight loads and will pull from the wall when someone grabs them during a fall. Remove towel bars from positions where they might be mistaken for support and replace them with properly installed grab bars.
Wrong Position
The bar that’s installed where the wall was easiest to drill rather than where the hand reaches during the fall moment provides limited protection. As covered in our full guide on grab bar placement for seniors — position is the variable that determines whether the bar actually catches the fall or just exists in the bathroom.

After Installation — The Complete Bathroom Safety Picture
Correctly installed grab bars address the highest-risk bathroom transitions. The complete bathroom safety system addresses everything else alongside them.
A non-slip bath mat outside the shower that stays completely in place covers the shower exit transition.
→ Get the Non-Slip Bath Mat on Amazon
Toilet safety rails for anyone where wall-mounted toilet bars aren’t feasible.
→ Get the Toilet Safety Rails on Amazon
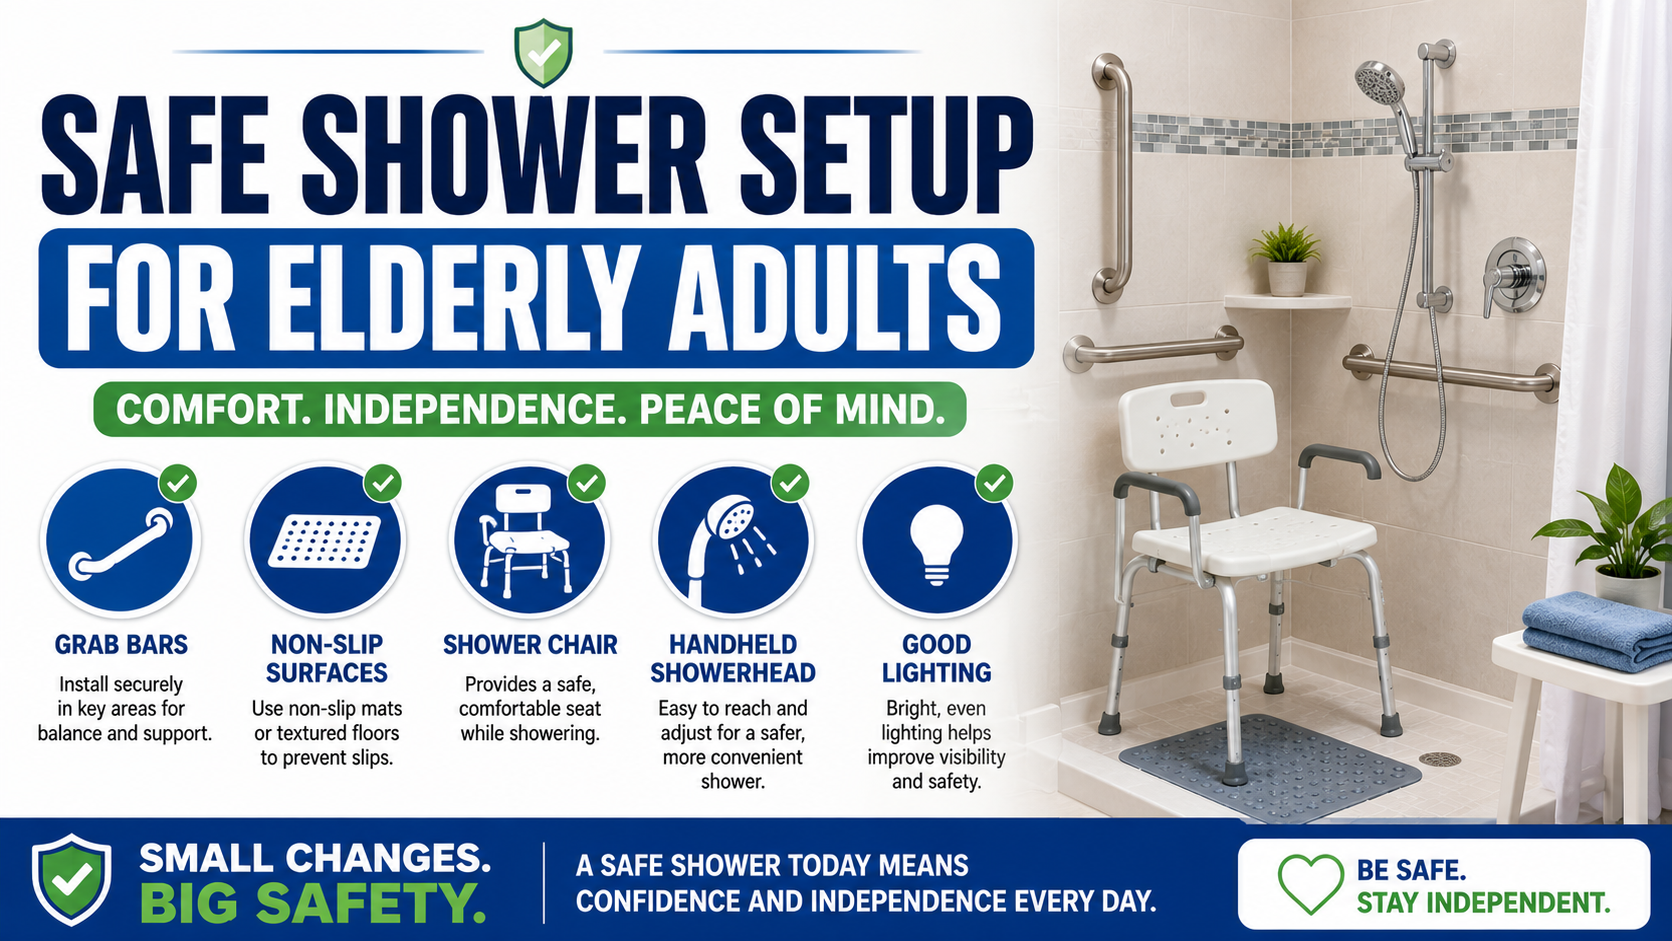
A shower chair to eliminate standing on a wet surface entirely. A handheld shower head to make seated showering complete. And a medical alert device worn on the wrist during every bathroom visit — because even a correctly modified bathroom carries residual risk that detection technology addresses.
→ Get the SecuLife Smartwatch on Amazon
For the complete bathroom safety picture our guide on how to make a bathroom safer for seniors covers every modification worth making.
Frequently Asked Questions
Can I install grab bars without finding studs?
Yes — with properly rated toggle anchors designed for the load. The critical requirement is that the anchors are specifically rated for 250 pounds or more in shear load — not standard drywall anchors which are rated for much lower loads. Snap toggle or strap toggle style anchors in good condition backer board or drywall provide reliable mounting when studs aren’t available at the right position.
How do I drill through tile without cracking it?
Three things prevent tile cracking — masking tape over the drill point to prevent bit walking, a diamond-tipped tile bit rather than a standard bit, and slow speed with light steady pressure. Let the bit cut at its own pace. Forcing the bit or running at high speed is what cracks tile. With the right bit and right technique drilling through tile cleanly is straightforward.
How many grab bars do I need?
Three as a minimum for complete bathroom coverage — one at the shower entry, one on the shower back wall, and one adjacent to the toilet. The shower entry bar is the highest priority if only one bar is being installed. Adding the toilet bar second covers the second-highest-frequency fall-risk transition. The back wall bar completes the shower coverage.
Should I hire someone or do it myself?
DIY is realistic for most homeowners with basic tool comfort — a drill, a stud finder, and the technique described above. The tile drilling step is where most people feel uncertain — practicing on a spare tile before drilling the shower wall builds confidence. For anyone uncomfortable with any part of the process a handyman is the right call. The labor cost is $100 to $200. The cost of a failed installation is potentially much higher.
How do I know the installation is strong enough?
The step 6 test — applying significant downward and lateral pressure to the installed bar before trusting it with body weight. A properly mounted bar into studs or rated anchors will not move under this test. Any movement means the mounting needs attention. Test every bar immediately after installation and periodically thereafter — connections can loosen over time with repeated use.


Install This Weekend
Two hours. Three positions. The bathroom that was the most dangerous room in the home becomes one where every high-risk transition has a firm load-rated support at exactly the height the hand reaches when it matters most.
The grab bars are the single highest-impact modification available in any home for older adult safety. Getting them installed correctly — in the right positions, into the right wall backing — is the difference between a bar that works and one that doesn’t.
Order the bars today. Install them this weekend.
→ Get the 2-Pack Stainless Steel Grab Bars on Amazon
About the Author
Tom Garrett spent eight years as an EMT responding to bathroom fall calls and saw the same pattern consistently — bathrooms with no grab bars, or grab bars mounted in the wrong position, or bars that had pulled from the wall when someone grabbed them during a fall. The installation is the part most guides skip. The technique that prevents tile cracking, the anchors that actually hold load, the test that confirms the bar is trustworthy before a life depends on it. He writes for Elder Safety Guide because a grab bar only prevents a fall when it’s installed correctly — and most people installing them for the first time don’t have that information until it matters.