The right shower grab bar in the right position is the highest-impact fall prevention modification available. Here’s exactly what to buy, where to put it, and how to mount it correctly.
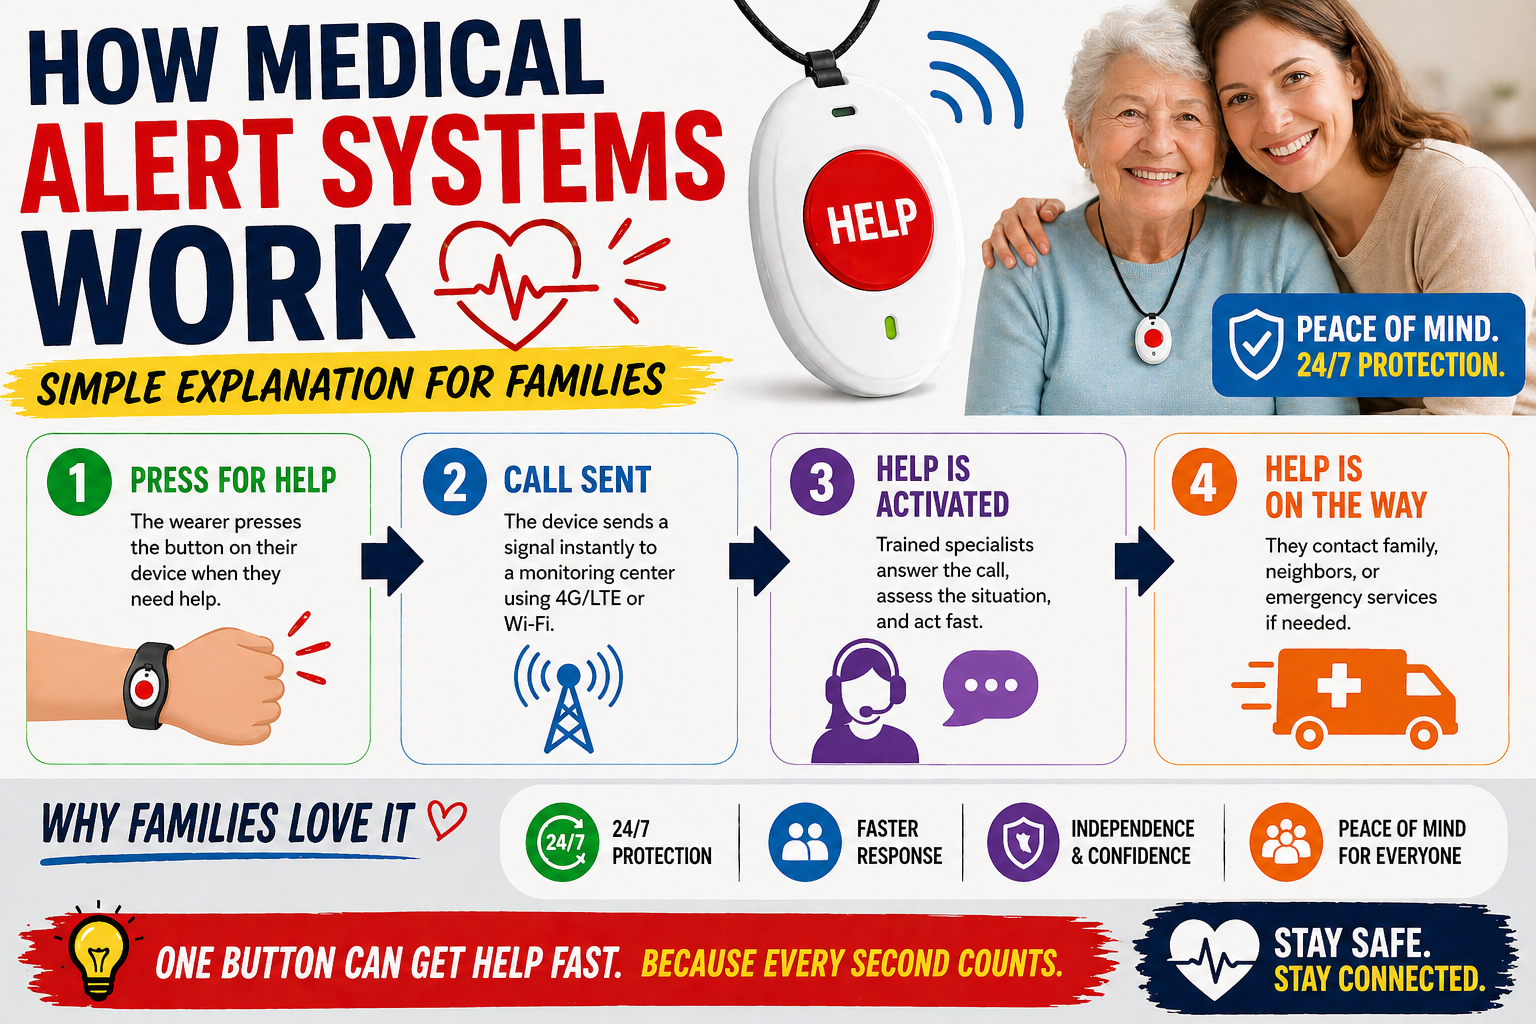
A grab bar in the shower is the single highest-impact home modification available for senior fall prevention. Not the most expensive. Not the most complex. The highest impact — because it directly addresses the specific transition where most bathroom falls occur, every single day, for the life of the home.
Getting it right requires knowing three things: which bar to buy, where to put it, and how to mount it so it holds under the load it will actually experience. This guide covers all three.
Why the Shower Specifically
As covered in our guide on the bathroom causes more senior falls than stairs, cars, and ice combined — approximately 80 percent of falls in older adults occur in the bathroom. Within the bathroom the shower entry is where most of those falls happen — the step-over threshold, one foot lifted, full body weight on the other leg, body moving forward into the shower space.
That specific moment — the one-legged weight transfer during shower entry — is what a correctly positioned shower grab bar directly addresses. The hand reaches for it naturally during the entry motion. It’s there. The fall that would have happened doesn’t.
As covered in our guide on the grab bar that wasn’t there — the falling hand that reaches for support and finds nothing is one of the most consistent patterns in serious bathroom fall reports. The bar in the right position changes that outcome permanently.

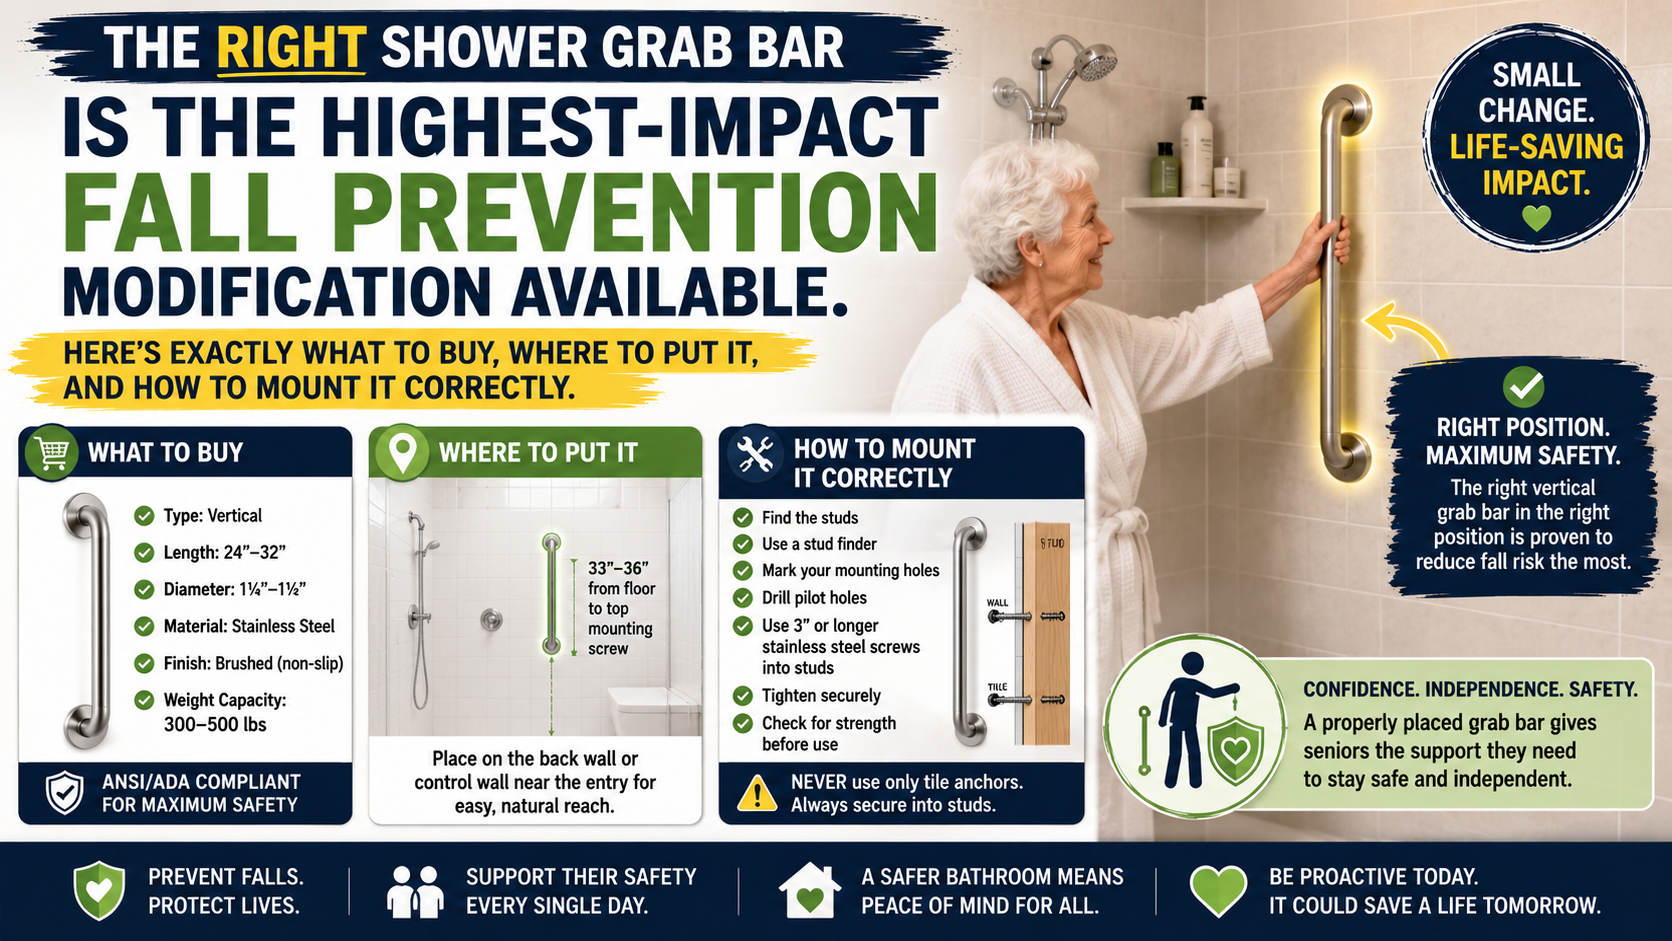
What to Look for When Buying Shower Grab Bars
Load Rating — The Most Important Specification
A grab bar bears the full weight of a person during a fall or during assisted standing — up to and beyond 250 pounds applied suddenly and at an angle. The bar must be rated for this load. Load ratings appear in the product specifications — look for 250 pounds minimum, 300 to 500 pounds preferred.
Bars without a published load rating should not be trusted for this application. If the manufacturer doesn’t publish the rating they’re not confident enough in it to state it.
Material — Stainless Steel Is the Standard
Stainless steel grab bars resist corrosion in the humid shower environment, maintain their structural integrity under repeated loading, and clean easily. Chrome-plated steel is acceptable. Plastic grab bars — regardless of their claimed load rating — are not appropriate for fall-prevention applications where full body weight loads are possible.
Diameter — Grip Matters
The standard grab bar diameter is 1.25 to 1.5 inches — sized to allow a secure grip without requiring an uncomfortably wide grasp. Bars outside this range are harder to grip under stress. ADA-compliant bars fall within this range by specification.
Finish — Match the Bathroom, Not the Medical Supply Store
Modern grab bars are available in polished chrome, brushed nickel, oil-rubbed bronze, and matte black — finishes that match bathroom fixtures and look like intentional design choices rather than medical accommodations. There is no fall-prevention reason to choose the institutional white metal finish. Choose the finish that looks like it belongs in the bathroom — a bar that looks like it belongs gets used.
Flange Design — How It Mounts
The flanges — the mounting plates at each end — must have sufficient hole spacing to hit wall studs or accommodate proper load-rated anchors. Wider flange spacing provides more mounting flexibility. Look for flanges with at least two mounting holes per end.


The Grab Bars We Recommend
The 2-pack stainless steel grab bars we recommend throughout this site cover both critical shower positions — entry bar and back wall bar — in a single purchase. Load-rated. Stainless steel. Available in multiple finishes. The specific option our complete review identified as the best combination of load rating, finish quality, and installation design.
→ Get the 2-Pack Stainless Steel Grab Bars on Amazon
Full review: Best Grab Bars for Seniors — Complete Review
The Two Shower Positions That Matter Most
Two bar positions address the two highest-risk shower transitions. Both are needed for complete shower safety coverage.
Position 1 — The Entry Bar
This is the most important bar in the bathroom. Inside the shower, on the wall adjacent to the entry point, vertical or at 45 degrees. Bottom of bar at 33 inches from the shower floor, top at 48 inches.
Why vertical or angled rather than horizontal: the entry motion is a vertical arc — the body moves upward and forward during step entry. A vertical or angled bar provides grip at multiple heights through that arc — wherever the hand lands during the motion. A horizontal bar at one fixed height provides support only if the hand happens to reach exactly that height during the transition.
Why inside the shower rather than on the outside wall: the hand reaches forward and inward during shower entry — into the shower space. A bar on the outside wall requires reaching backward to grab it, which is not the natural direction the hand moves during entry instability.
Position 2 — The Back Wall Bar
Horizontal on the back wall of the shower. Center at 33 to 36 inches from the shower floor. Minimum 24 inches long — longer is better for providing grip across a wider reach range.
This bar provides stability during the showering routine itself — for reaching, turning, and any moment of instability during standing portions of the shower. It also assists with the sit-to-stand transition from a shower chair, which is why its position relative to the chair matters if a chair is in use.
Our complete placement guide at grab bar placement for seniors covers both positions with precise measurements and diagrams.


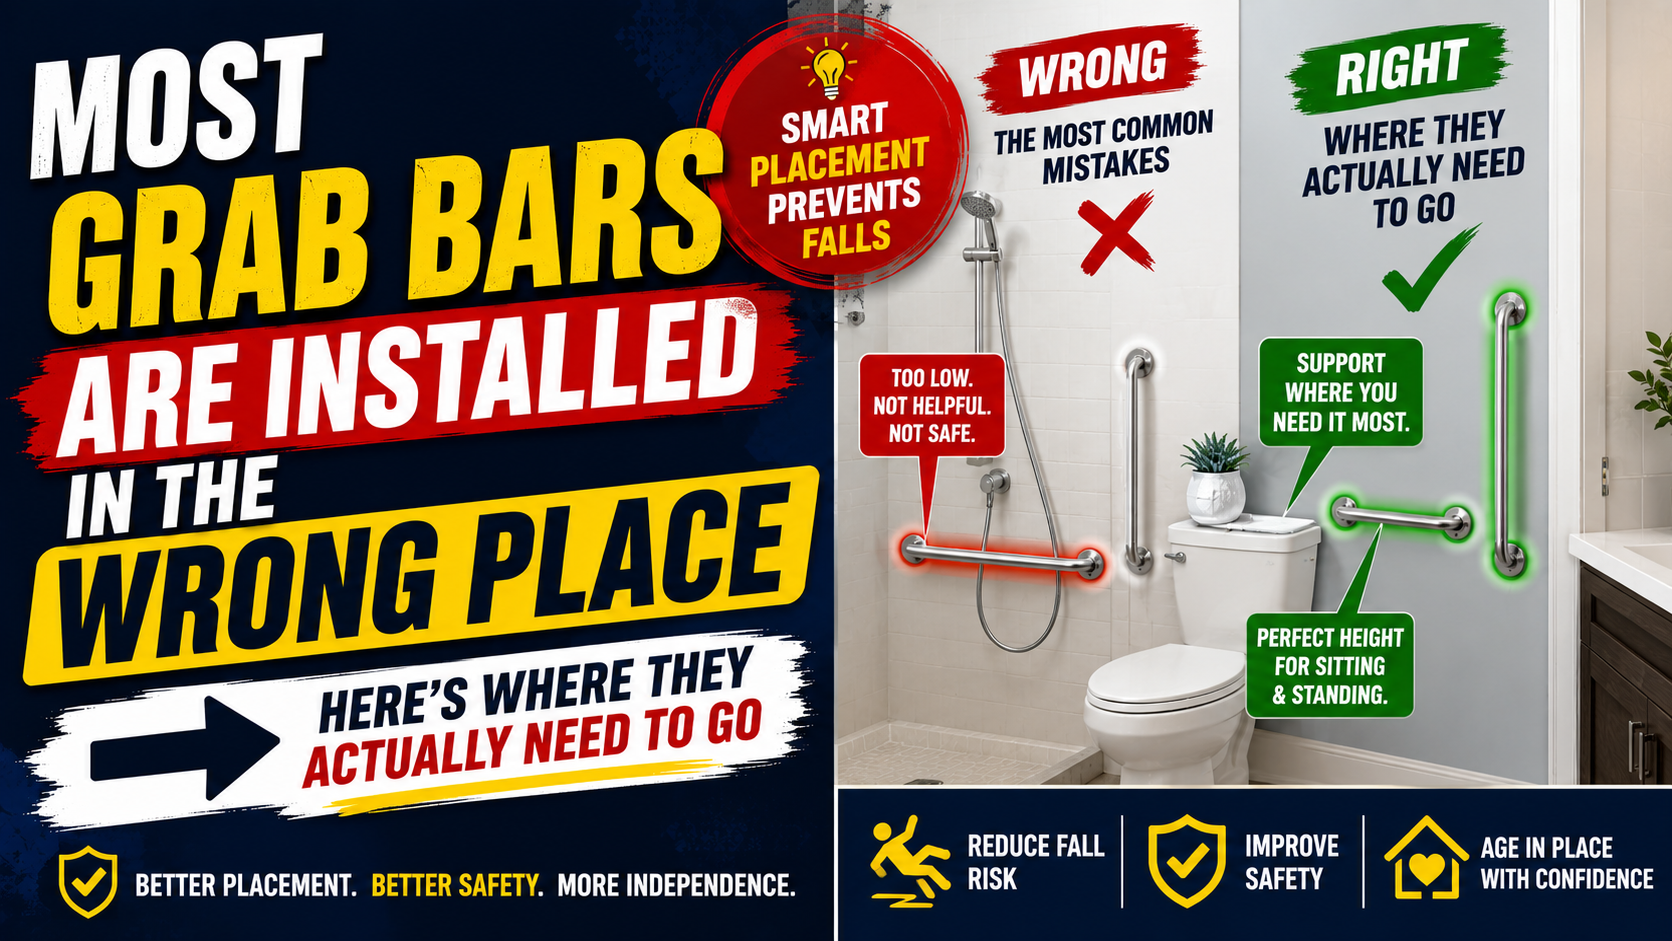
What Most People Get Wrong
As covered in our guide on most grab bars are installed in the wrong place — the most common mistakes are position errors, not product errors. The right bar in the wrong position provides limited protection.
Wrong: Bar on the outside shower wall. The hand reaches inward during entry — a bar outside the shower isn’t where the hand goes during the transition that matters.
Wrong: Single horizontal bar centered on the side wall. This covers neither the entry transition nor the back wall stability need. It’s better than nothing but covers none of the highest-risk moments specifically.
Wrong: Towel bar used as grab bar. Towel bars are not load-rated for body weight. They will pull from the wall under the loads that grab bars routinely experience. This is worse than no bar — it provides false confidence then fails when relied on.
Wrong: Mounted into tile only without stud or rated anchor. Tile alone does not hold the load. The mounting must reach studs or properly rated toggle anchors. A bar that pulls from the wall during a fall is not a safety device.

Installation — The Part That Determines Whether the Bar Actually Works
The best bar in the wrong position or with inadequate mounting provides false security. Installation is where grab bar projects most commonly fail — and our complete installation guide covers every step of the process.
Full installation guide: How to Install Grab Bars for Seniors — Complete DIY Guide
The summary: locate studs with a stud finder, mark drill points at the confirmed position, drill through tile with a diamond-tipped bit at slow speed with masking tape over the point, mount into studs with appropriate screws, seal flanges with silicone caulk, test by applying full bodyweight force before trusting.
If any doubt exists about the mounting quality — hire a handyman. One to two hours of labor, $100 to $200 in most markets. Trivial against the consequence of a bar that fails when someone’s life depends on it.
Beyond the Shower — The Complete Bathroom Safety Picture
Shower grab bars address the shower entry and standing stability. The complete bathroom fall prevention system addresses every other high-risk transition alongside them.
Toilet safety rails for the sit-to-stand that happens multiple times every day — as important in daily fall risk as the shower bar given the frequency of toilet transfers.
→ Get the Toilet Safety Rails on Amazon
A non-slip bath mat outside the shower that never shifts under wet feet — covering the shower exit transition that the entry bar doesn’t address.
→ Get the Non-Slip Bath Mat on Amazon
A shower chair to eliminate standing on a wet surface entirely — working alongside the grab bars to make seated showering safe and practical.
→ Get the Shower Chair on Amazon
And the safety net — the SecuLife Smartwatch worn on the wrist during every shower, providing automatic fall detection that alerts family immediately if a fall occurs despite every modification in place.
→ Get the SecuLife Smartwatch on Amazon


Frequently Asked Questions
How many grab bars do I need in the shower?
Two as a minimum — one at the entry point and one on the back wall. These two bars cover the entry transition and the standing stability need during showering. A third bar adjacent to a shower chair adds support for the chair sit-to-stand if a chair is in use. The 2-pack we recommend covers both primary shower positions in a single purchase.
What length grab bar should I buy?
For the entry bar — 18 to 24 inches, mounted vertically or at 45 degrees. For the back wall bar — 24 to 36 inches horizontal, longer providing more grip range across a wider reach. Longer is generally better for the back wall bar as it accommodates different reaching positions during the showering routine.
Can grab bars be installed in a tiled shower without damaging the tile?
Yes — with the right technique. A diamond-tipped drill bit at slow speed with masking tape over the drill point prevents tile cracking. This is the standard professional technique and is achievable for a careful DIY installer. Our installation guide covers the complete tile drilling process step by step.
Do grab bars come in colors other than chrome?
Yes — most quality grab bar manufacturers offer multiple finishes including brushed nickel, oil-rubbed bronze, matte black, and polished chrome. The finish doesn’t affect load rating or performance. Choose the finish that matches existing bathroom fixtures — a bar that looks like it belongs in the bathroom is more likely to be accepted and used consistently.
How do I know if my grab bar installation is strong enough?
The load test — after installation, grip the bar and apply significant downward and lateral force, more than a normal grab. Simulate the force of catching a fall. Any movement at all means the mounting needs attention before the bar is trusted with body weight. A properly mounted bar into studs or rated anchors will not move under this test. Repeat this test every six months — connections can loosen over time with repeated use.
The Bar That’s Always There
A shower grab bar is not a temporary accommodation. It is not a sign of decline. It is a permanent fixture that makes the most dangerous daily transition in the home safe — every morning, for every shower, for as long as the home is lived in.
The right bar in the right position with the right mounting is the bar that works when it matters. That’s the only standard that counts — not how it looks in the catalog, not how easy it was to install, but whether it’s there when the hand reaches for it.
→ Get the 2-Pack Stainless Steel Grab Bars on Amazon


About the Author
Carol Simmons is a Certified Aging-in-Place Specialist (CAPS) who has specified grab bar installations in hundreds of home safety assessments. The most consistent finding across all of them: homes where grab bars exist but are in the wrong position, and homes where the right bar was correctly positioned but mounted inadequately. Getting both right — position and mounting — is what produces a bar that actually prevents falls rather than one that exists in the bathroom without doing its job. She writes for Elder Safety Guide because grab bar installation done correctly is one of the most impactful things a family can do for an aging parent — and the information that makes it correct rather than approximate is specific enough to require a dedicated guide.